Party food
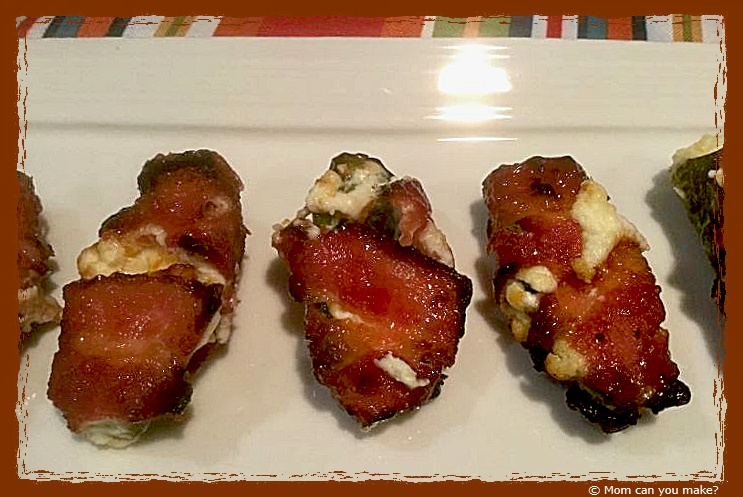
We absolutely LOVE jalapeño poppers. I make them often and we also order them when we are out. I usually stuff them with spicy sausage but decided to change it up a bit with some seasoning in the cream cheese mixture and the addition of the sweet barbecue sauce. I used my air fryer but you can easily bake these as well. This was the perfect sweet and spicy combination, these just might be my all-time favorite jalapeño poppers. We loved them so much I made them two days in a row with none left over!
INGREDIENTS
- 8 jalapeño’s
- 4 ounces of cream cheese at room temperature
- 1/2 cup sharpe cheddar cheese, shredded
- 1/2 cup Monterey Jack cheese, shredded
- 1 teaspoon garlic powder
- 1 teaspoon onion powder
- 8 slices thick cut bacon
- 1/2 cup of honey BBQ sauce
- 1/4 cup packed brown sugar
Preheat your air fryer to 400 degrees. Slice each jalapeño in half lengthwise and remove the seeds and veins. Set aside. In a small bowl combine the cream cheese, cheddar cheese, Monterey Jack cheese, garlic powder, and onion powder and mix well. Spread the cream cheese mixture into the body of each jalapeño half. Cut the bacon slices in half and taking one piece of bacon at a time wrap the half piece of bacon around one of the stuffed jalapeños and secure each end with a toothpick. Do this for each jalapeño half.
In another small bowl combine the barbecue sauce and brown sugar. Brush each of the bacon wrapped jalapeños with the barbecue mixture. Place the jalapeños in your fryer in a single layer and air fry at 400 degrees for 12-14 minutes depending on how crispy you want your bacon. Remove from fryer and let cool for just a couple minutes. Serve warm.
Enjoy!


New England is not known for its barbecue although we are starting to see some great places opening up. I came across this recipe by Trisha Yearwood on the Food N
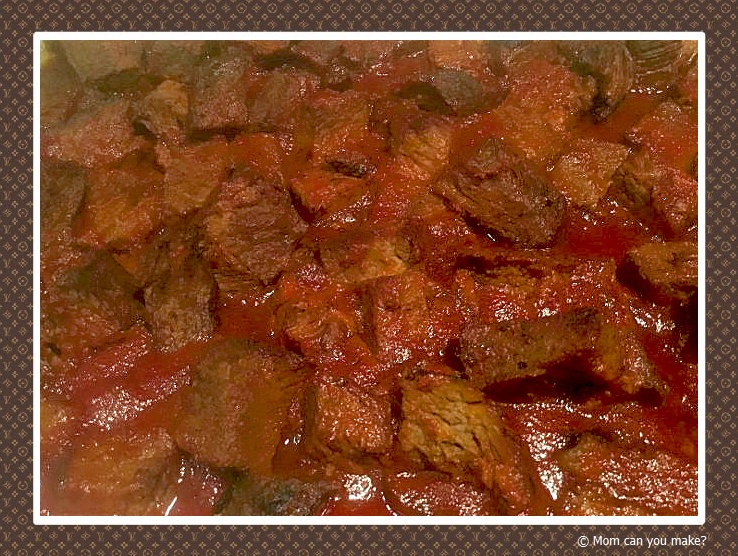
I’ll be honest I was a bit skeptical but decided to give it a try for Super Bowl Sunday and I am so glad I did. This was so tender, with a little bit of a kick from the cayenne pepper, but not overpowering. We really enjoyed this dish not only the day I made it but the leftovers were just as delicious as the first day!
INGREDIENTS FOR THE BRISKET
1 1/2 Tablespoons kosher salt
1/2 Tablespoon fresh ground black pepper
2 teaspoons smoked paprika
1 teaspoon cayenne pepper
1 teaspoon ground cumin
1 teaspoon granulated garlic
1 teaspoon dry mustard
5 pounds brisket, fat cap trimmed
BBQ SAUCE
1 six ounce can of tomato paste
1/4 cup packed dark brown sugar
2 Tablespoons apple cider vinegar
1/2 teaspoon kosher salt
1/4 teaspoon liquid smoke
1/4 teaspoon cayenne pepper
1/4 teaspoon granulated garlic
1/4 teaspoon dry mustard powder
DIRECTIONS
For the brisket, combine the salt, pepper, paprika, cayenne, cumin, granulated garlic and dry mustard in a small bowl. Sprinkle the on all sides with the spice rub. Place the brisket in a slow cooker and cover with the lid. Set the slow cooker on high and cook until tender, about 6 hours.
Remove the brisket from the slow cooker and set aside until cool enough to handle. Pour the liquid from the slow cooker into a fat separator, discard the fat.
For the BBQ sauce, pour the cooking liquid into a stockpot and place over medium heat. Stir in the tomato paste, brown sugar, vinegar, salt, liquid smoke, cayenne, granulated garlic and dry mustard. Bring to a simmer, then reduce the heat to medium-low. Simmer stirring occasionally until thickened. At least 20 minutes.
Slice the brisket into 1 inch pieces, remove and discard any large pieces of fat. Place the cut brisket pieces into a 9×13 inch pan and pour the sauce over the meat.
Turn the broiler on to high, broil until crispy and just slightly charred on the edges. About 5 minutes. Serve warm with bread or rolls.
Enjoy!

Valentine’s Day is just around the corner. If you want to bake up some sweet treats for the little ones or loved ones in your life this just might what you are looking for! If you have
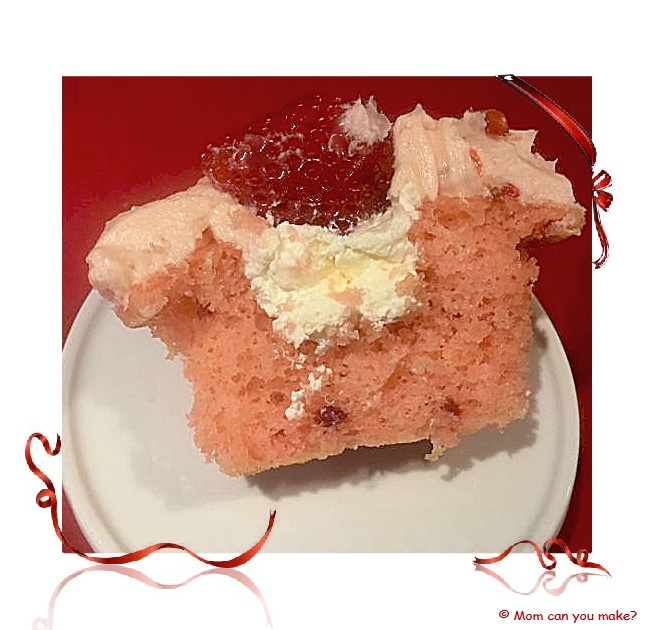
When I was deciding what to make for some Valentine’s Day fun I thought of all of Miss. B’s creations and decided on cupcakes. Keeping Miss. B in mind I did not want just any old cupcake so I decided on this strawberry cheesecake version. Are you impressed? This cupcake does take a little bit of time but I can promise you they are well worth it! I shared these cupcakes with our local fire department and one of the guys said he would cheat on his diet for one of these!
Ingredients for the Cupcakes
1 strawberry cake mix
1/2 cup oil
3 eggs
1 cup milk
For the Cheesecake Filling
1 3.4
1/2 cup milk
4 ounces cream cheese, at room temperature
1 1/4 cup Cool Whip, thawed
For the Strawberry Buttercream
1/2 cup butter flavored shortening
1/2 cup butter room temperature
1/4 teaspoon salt
1/2 teaspoon vanilla extract
1/2 teaspoon strawberry extract
1 Tablespoon water
3/4 cup diced strawberries
4 cups powdered sugar
Whole strawberries for garnish-optional
DIRECTIONS
Pre heat oven to 325 degrees. Line muffin tins with cupcake liners (18-20). Beat the cake mix, oil, milk
In a small bowl whisk the milk and pudding mix until creamy and thick. Beat the cream cheese until creamy, add the pudding mix to the cream cheese mixture until well combined. Fold in the whipped topping. Place this mixture into a large ziploc bag and
When the cupcakes have cooled you can use a cupcake corer or in my
For the frosting beat the shortening and butter until creamy. Add the salt, vanilla and strawberry extracts and beat again. Slowly add in the powdered sugar until it is combined.
Place the water and strawberries in a food processor or blender and purée. Pour the purée into the frosting and beat again until light and fluffy. To frost you can simply use a knife and frost the top of the cupcakes or you can use a piping bag and frosting tip to swirl the frosting on each of the cakes. Garnish each cupcake with a strawberry. You are ready to enjoy and share! It is best to store in the fridge.
Now that you have seen my creation I want to share with you some of Miss. B’s beautiful creations, take a look at these cupcakes! I should also mention Miss B also helps with the grocery shopping for all of the ingredients. This is where Elizabeth and Miss. B find much of their flavor inspiration. They think a lot about what is fresh and in season or maybe just something that interests Miss B at that moment! What a great way for them to spend the day. I’m looking forward to those days with my grandkids!
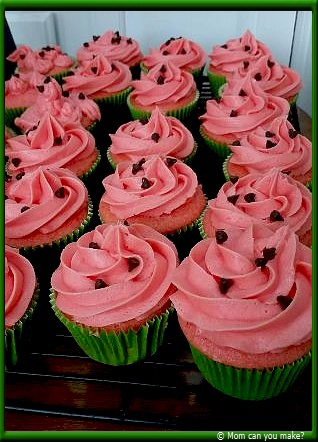
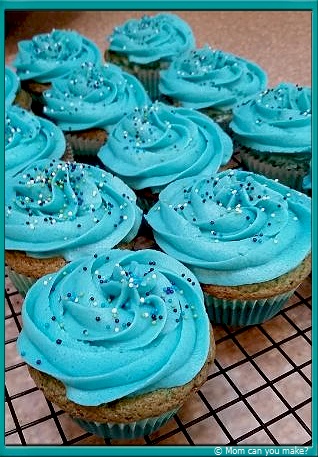


Aren’t these amazing? I should also mention that sweet Miss. B is only 6 years old! Yes, 6! I hope Miss B’s creations inspire you the way they did for me! A huge thank you to Miss. B, her grandmother Elizabeth, and Miss. B’s family for letting me share her amazing creations. I have no doubt Miss. B has an incredible cupcake recipe box! Keep cooking and baking Miss B, I’ll be watching for your creations!
Enjoy!
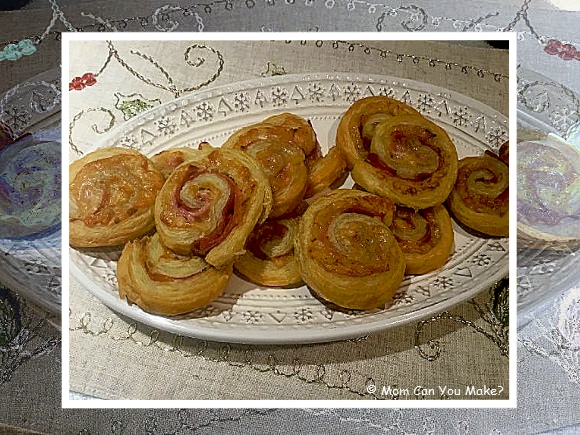
I love making appetizers and this one quickly became a favorite. My niece Kelly, and her man Jack, hosted a Christmas party for everyone and I brought these. I really like that I was able to make them partially ahead of time and then just slice and bake before the party. These are great warm or at room temperature. The puff pastry really gives them a nice crispy bite.
INGREDIENTS
1 box frozen puff pastry (2 sheets) thawed in the refrigerator, overnight is best.
3 Tablespoons Dijon mustard, divided
12 thin slices of deli ham
2 cups freshly grated gruyere cheese
DIRECTIONS
Lay a large piece of plastic wrap on your counter. I used two sheets to create a large space. Unfold the first sheet of puff pastry in the center of the plastic then roll into a 10 x 12-inch rectangle. Spread with 1 1/2 Tablespoons of the mustard leaving a 1 inch border around the sides. Sprinkle the cheese over the mustard. Lay 6 slices of the ham over the top overlapping as needed. Starting on the long side, roll the puff pastry into a log, Trim the ends so they are even, then tightly wrap the log with the plastic wrap. Place in the fridge for 20 minutes or overnight. Repeat with the second puff pastry sheet . When you are ready to cook pre-heat your oven to 375 degrees and line two baking sheets with parchment paper. Using a
Enjoy!
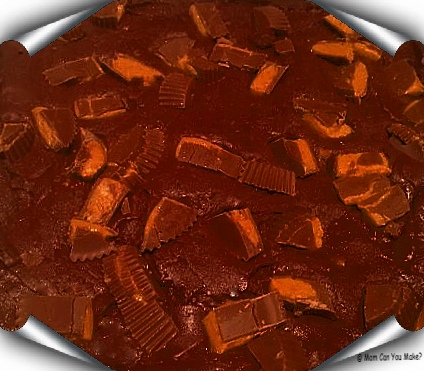
Where has this year gone? It’s crazy how fast time seems to be going by, Christmas is just around the corner. I’m always looking for new recipes to bring to holiday gatherings or to give as a gift to friends and neighbors. This fudge is a simple and delicious treat for your holiday parties or to give to your friends.
INGREDIENTS
22
3 cups chocolate chips
1 can (14 ounces) of sweetened condensed milk
DIRECTIONS
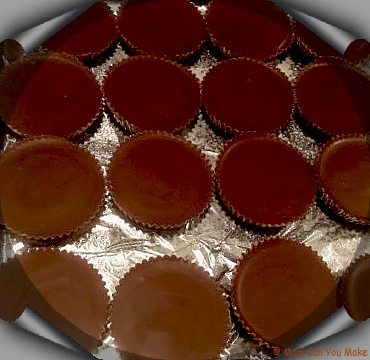
Line an 8 x 8 pan with foil and spray with cooking spray. Place as many full-sized peanut butter cups as you can in the bottom of your pan. Place the chocolate chips and sweetened condensed milk in a medium saucepan over low heat. Stir until chips and milk are melted together. Once everything is melted and smooth pour on top of the peanut butter cups in your prepared pan. Chop the remaining peanut butter cups and sprinkle them over the top pressing into the fudge just a little. Cool until firm. I cooled mine in the fridge. Cut into small squares and serve.
Enjoy!
This recipe can be found at www.sixsisterstuff.com


