Family favorites
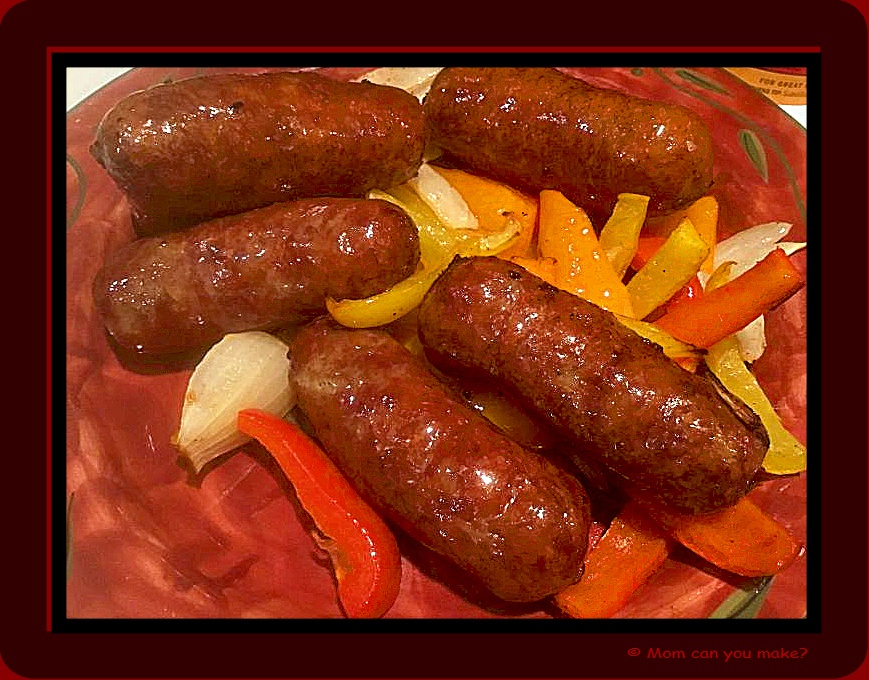
Everyone in our house loves sausages peppers and onions. I usually do them on a sheet pan in the oven but this time I wanted to try them in the air fryer. These did not disappoint at all. In fact, the sausages had such
INGREDIENTS
- 1 package sweet link sausages
- 1 package hot link sausages
- 1 onion, sliced into strips
- 1 red bell pepper, sliced into strips
- 1 orange bell pepper, sliced into strips
DIRECTIONS
Pre
Enjoy!

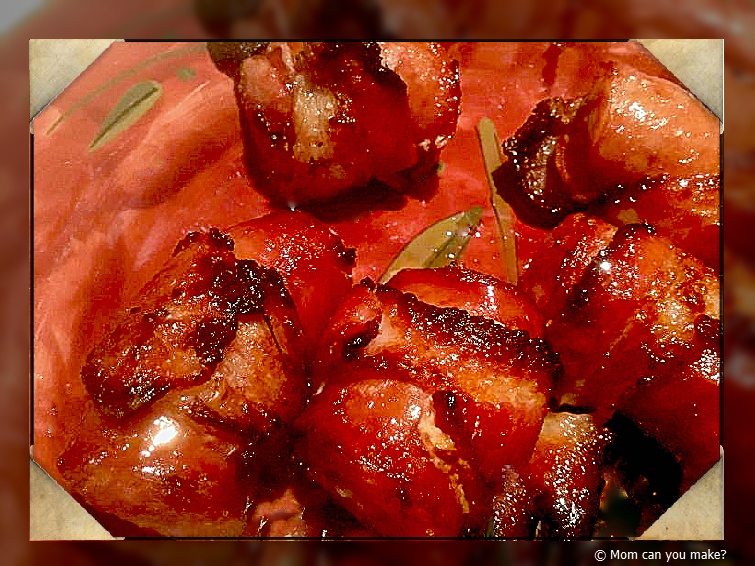
We have had a crazy couple of weeks around here so I have some super simple recipes coming up for you this week. I was doing a lot of baking last week and looked in the fridge for a little something for the boys around here and saw kielbasa and Bacon and a trusty bottle of BBQ sauce. I knew exactly what I was going to do. You guessed it, this amazing little gem was born! I air fried them, but they could easily be baked or even grilled in the summer!
INGREDIENTS
- 1 fully cooked kielbasa ring
- 4-5 slices of thick cut bacon
- 1/2 cup of your favorite barbecue sauce
DIRECTIONS
Cut the kielbasa link the same size as the width of the bacon. My kielbasa gave me 8-9 pieces. Cut the bacon slices large enough to wrap around the kielbasa pieces and secure the bacon with a toothpick. Do this for each of the kielbasa pieces. Slather the BBQ sauce all over the kielbasa, bacon pieces, and place in your air fryer.
Air fry at 400 degrees for 12-14 minutes or until the bacon is done until your deisired crispness. Let cool for just a couple minutes, remove the toothpicks and serve warm.
Enjoy!

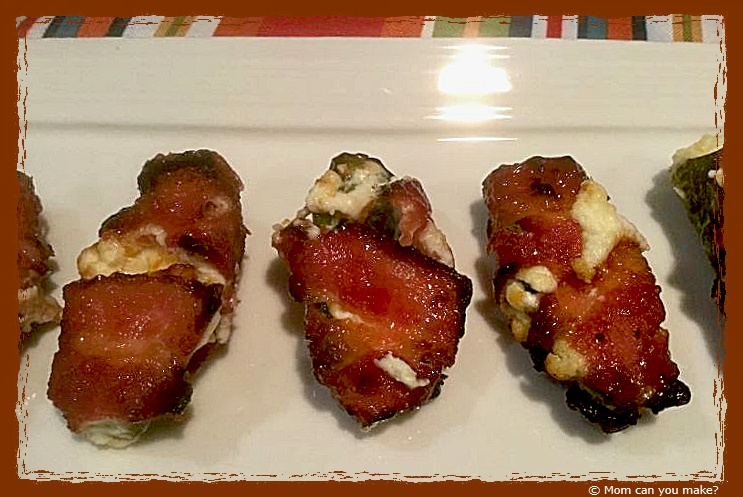
We absolutely LOVE jalapeño poppers. I make them often and we also order them when we are out. I usually stuff them with spicy sausage but decided to change it up a bit with some seasoning in the cream cheese mixture and the addition of the sweet barbecue sauce. I used my air fryer but you can easily bake these as well. This was the perfect sweet and spicy combination, these just might be my all-time favorite jalapeño poppers. We loved them so much I made them two days in a row with none left over!
INGREDIENTS
- 8 jalapeño’s
- 4 ounces of cream cheese at room temperature
- 1/2 cup sharpe cheddar cheese, shredded
- 1/2 cup Monterey Jack cheese, shredded
- 1 teaspoon garlic powder
- 1 teaspoon onion powder
- 8 slices thick cut bacon
- 1/2 cup of honey BBQ sauce
- 1/4 cup packed brown sugar
Preheat your air fryer to 400 degrees. Slice each jalapeño in half lengthwise and remove the seeds and veins. Set aside. In a small bowl combine the cream cheese, cheddar cheese, Monterey Jack cheese, garlic powder, and onion powder and mix well. Spread the cream cheese mixture into the body of each jalapeño half. Cut the bacon slices in half and taking one piece of bacon at a time wrap the half piece of bacon around one of the stuffed jalapeños and secure each end with a toothpick. Do this for each jalapeño half.
In another small bowl combine the barbecue sauce and brown sugar. Brush each of the bacon wrapped jalapeños with the barbecue mixture. Place the jalapeños in your fryer in a single layer and air fry at 400 degrees for 12-14 minutes depending on how crispy you want your bacon. Remove from fryer and let cool for just a couple minutes. Serve warm.
Enjoy!

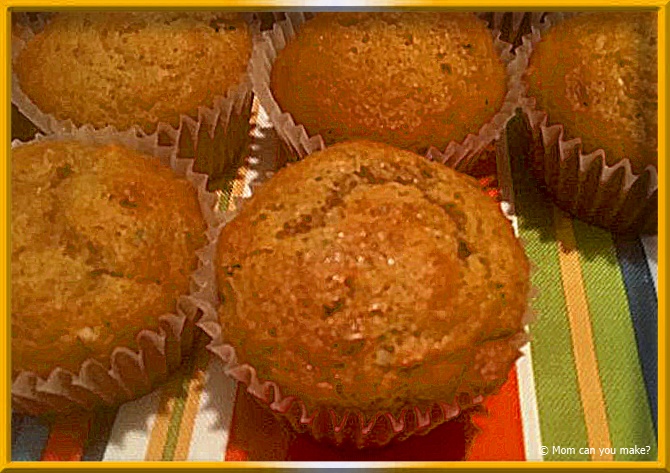
I love a muffin in the morning, slightly warmed with just a small pat of butter. That’s a nice way to start the day! One of my favorite muffins is the Morning Glory Muffin. It’s packed with so many great flavors and a bit healthier than many of the muffins out there. This is hands down my most favorite Morning Glory Muffin that I have made. I no longer have to look for another recipe, this is it! I did change it just the slightest by lessing the amount of carrots and coconut to 1/4 cup of each and added 1/2 cup of golden raisins. I came across this recipe on Pinterest from www.laurenslatest.com
INGREDIENTS
- 3/4 cup granulated sugar
- 2 1/4 cups all-purpose flour
- 1 1/2 teaspoons cinnamon
- 2 teaspoons baking soda
- 1/2 teaspoon salt
- 1/2 cup shredded sweetened coconut
- 1/2 cup chopped walnuts or pecans
- 1 cup grated zucchini, wrung out and dry
- 2 cups grated carrots
- 1/2 cup unsweetened apple sauce
- 1/2 cup maple syrup, the real stuff
- 3 large eggs
- 1/2 cup vegetable oil
- 1 teaspoon vanilla
DIRECTIONS
Preheat oven to 350 degrees. Line muffin tins with paper liners and set aside. In a large bowl whisk sugar, flour, cinnamon, baking soda, salt, coconut and walnuts until combined. Add zucchini and carrots and stir. Create a well in the center of the dry ingredients and add in the wet ingredients. Stir the wet ingredients together and then start to incorporate the dry into the wet using a rubber spatula until just combined. Scoop into prepared tins and bake 25-35 minutes or until a toothpick inserted in the center comes out clean. Cool for 7 minutes in the pan then transfer to a cooling rack.
Store in an airtight container for up to 3 days or freeze for up to 2 months.
Enjoy!

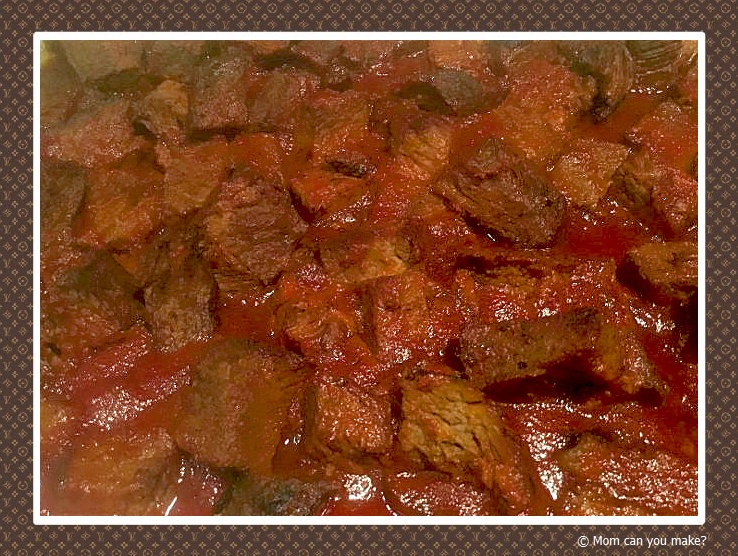
New England is not known for its barbecue although we are starting to see some great places opening up. I came across this recipe by Trisha Yearwood on the Food N
I’ll be honest I was a bit skeptical but decided to give it a try for Super Bowl Sunday and I am so glad I did. This was so tender, with a little bit of a kick from the cayenne pepper, but not overpowering. We really enjoyed this dish not only the day I made it but the leftovers were just as delicious as the first day!
INGREDIENTS FOR THE BRISKET
1 1/2 Tablespoons kosher salt
1/2 Tablespoon fresh ground black pepper
2 teaspoons smoked paprika
1 teaspoon cayenne pepper
1 teaspoon ground cumin
1 teaspoon granulated garlic
1 teaspoon dry mustard
5 pounds brisket, fat cap trimmed
BBQ SAUCE
1 six ounce can of tomato paste
1/4 cup packed dark brown sugar
2 Tablespoons apple cider vinegar
1/2 teaspoon kosher salt
1/4 teaspoon liquid smoke
1/4 teaspoon cayenne pepper
1/4 teaspoon granulated garlic
1/4 teaspoon dry mustard powder
DIRECTIONS
For the brisket, combine the salt, pepper, paprika, cayenne, cumin, granulated garlic and dry mustard in a small bowl. Sprinkle the on all sides with the spice rub. Place the brisket in a slow cooker and cover with the lid. Set the slow cooker on high and cook until tender, about 6 hours.
Remove the brisket from the slow cooker and set aside until cool enough to handle. Pour the liquid from the slow cooker into a fat separator, discard the fat.
For the BBQ sauce, pour the cooking liquid into a stockpot and place over medium heat. Stir in the tomato paste, brown sugar, vinegar, salt, liquid smoke, cayenne, granulated garlic and dry mustard. Bring to a simmer, then reduce the heat to medium-low. Simmer stirring occasionally until thickened. At least 20 minutes.
Slice the brisket into 1 inch pieces, remove and discard any large pieces of fat. Place the cut brisket pieces into a 9×13 inch pan and pour the sauce over the meat.
Turn the broiler on to high, broil until crispy and just slightly charred on the edges. About 5 minutes. Serve warm with bread or rolls.
Enjoy!


