Snack
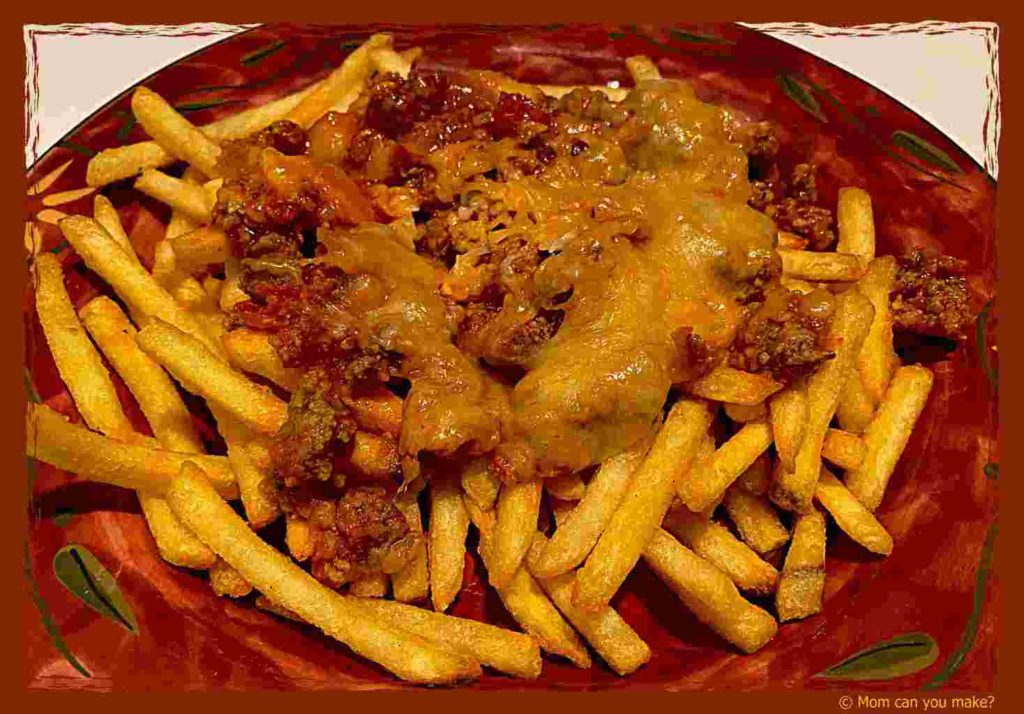
I saw the idea of pizza fries on Pinterest but changed it to what I had on hand for Robby to give this a go. One of the biggest things he misses the most while having to be gluten-free is a really good pizza. If you have never tried the frozen gluten-free pizzas from the store you are lucky. Cardboard would be a good alternative to those pizzas! The fries take the place of the crust. This worked really well as Robby enjoyed it. I’m not going to write this like I normally would as you can change this a million different ways with literally any pizza toppings you like.
The base of this is obviously the fries. Cook them as directed or air fry at 400 degrees for 10-12 minutes or to your desired doneness. For the topping, I used 1 pound of spicy crumbled sausage, chopped onion, and garlic. I sautéed these all together until the sausage was cooked through. I added 1/2 jar of pizza sauce to the pan to warm through. Finally, I added the shredded cheese to the top of the meat mixture. I let the cheese melt then added this mixture over the top of the fries.
Using a full bag of fries and the above measurements, it will feed a small army! Easily 6 people. Great for a small gathering or hungry teenagers. Add anything you would top a pizza with the combinations are endless. Keep in mind if you add lots of meats and veggies you may need a bit more pizza sauce. Put your creative hat on and make your own pizza fries!
Enjoy!

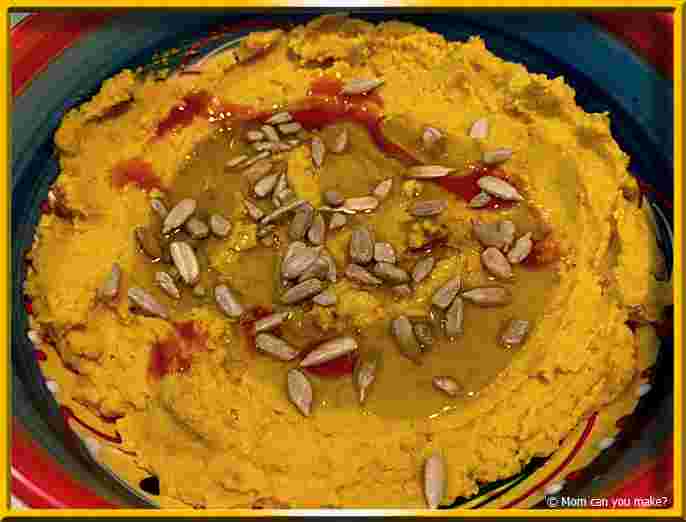
There was a hummus brand that made a roasted carrot hummus, however, I have not been able to find it. What’s a girl to do but make my own. This was delicious and could possibly be my favorite hummus yet! I served this with sliced veggies and Naan bread. I shared this dish with a friend and she really enjoyed it as well. So much so, she requested the recipe.
INGREDIENTS
- 1 can organic chickpeas
- 1 cup peeled, diced carrots
- 3 cloves of garlic
- 3-4 Tablespoons olive oil into the processor plus more for drizzling over veggies and garnish
- 2 Tablespoons tahini paste (sesame seed paste)
- 1 Tablespoon water
- 2 Tablespoons lemon juice
- 1 teaspoon hot sauce plus more to drizzle on the top (I used Cholula hot sauce)
- 1/4 teaspoon turmeric
- 1/4 teaspoon cumin
- 1/4 teaspoon sea salt
- 1/8 teaspoon cayenne pepper
- 1/4 cup roasted sunflower seeds (I found them already roasted and shelled in the grocery store)
- veggies and Naan bread for serving
DIRECTIONS
Preheat oven to 400 degrees. Spread the carrot slices and garlic cloves over a sheet pan that has been sprayed with non-stick spray. Drizzle olive oil over the vegetables and stir to coat them. Roast for 15-20 minutes. Allow to cool and remove skins from the garlic.
NOTE– This can also be done in an air fryer, air frying at 400 for 5-minute increments until the vegetables are soft.
Place all ingredients in a large food processor and process for a few minutes until you have the desired consistency. Scrape the processor sides down once or twice through this process. Remove to a serving dish, drizzle with olive oil, and more hot sauce if desired. Top with sunflower seeds.
Enjoy!

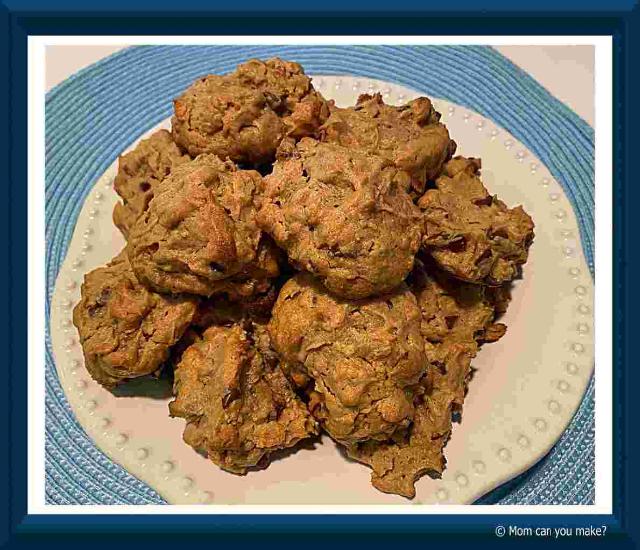
It’s always hard to find a good gluten-free cookie, especially store-bought so I find myself making them most of the time. Robby wanted cookies and asked for an oatmeal type cookie so that’s just what he got. Both Robby and I liked these cookies as did a couple of delivery drivers that I gave them to as they were warm and fresh from the oven when they were dropping off a purchase I had made. Although they did not speak English they did leave with a smile and lots of nods! Everyone can communicate through food!
INGREDIENTS
- 1 cup creamy peanut butter
- 2/3 cup packed brown sugar
- 1 teaspoon vanilla extract
- 2 large eggs
- 3/4 rolled oats-gluten free
- 1/2 teaspoon baking soda
- 2/3 cup chocolate chips, -I used Good Life
- flakey sea salt to sprinkle on top if desired
DIRECTIONS
Preheat oven to 350 degrees. Spray a baking sheet with non-stick spray and set aside. In a small bowl mix together the oats and baking soda and set aside. In a large mixing bowl mix together the peanut butter, brown sugar, eggs, and vanilla until smooth. Mix in dry ingredients, then gently fold in the chocolate chips.
Drop by tablespoons on to the prepared baking sheet. Bake for 9-12 minutes. Remove when the edges just begin to turn a light golden brown. Let cool on the baking sheet for 5 minutes before transferring to a cooling rack. Sprinkle each with salt if desired (I did not do this step). Serve warm or at room temperature.
Enjoy!

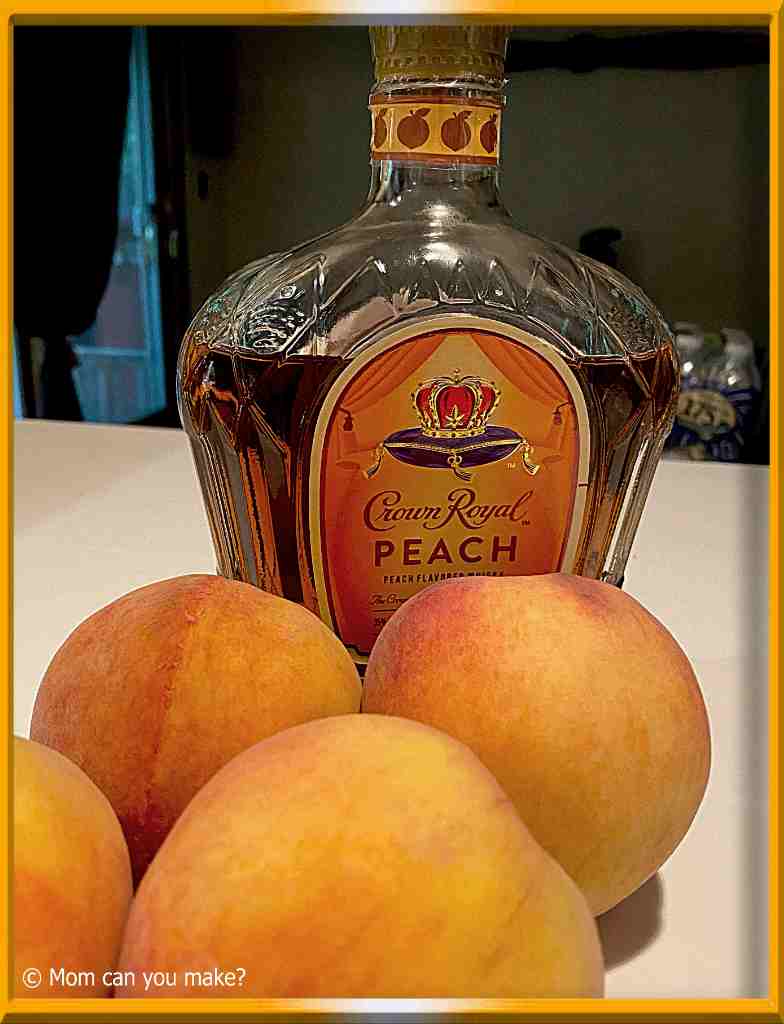
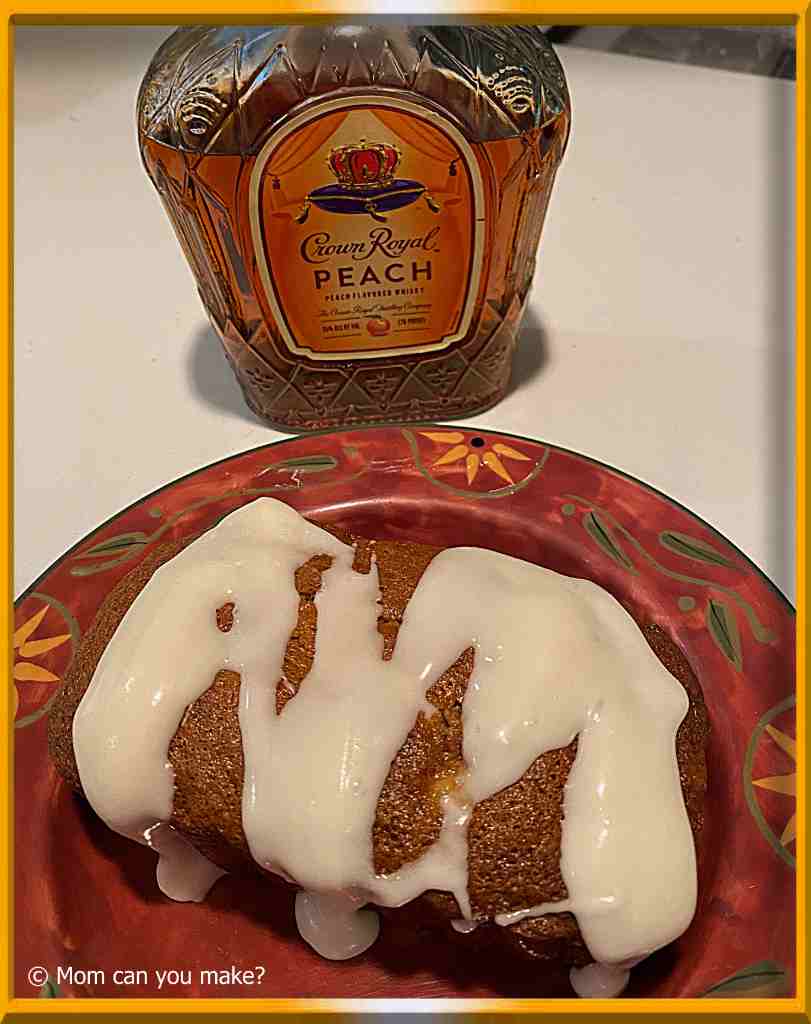
Last summer Jim and I were gifted a bottle of Peach Whiskey. Fast forward to this summer and still a full bottle of whiskey. Jim came across a recipe using plain whiskey so I made a number of changes and out came this summer filled, delightful peaches and cream cake. Calling it a cake is a bit of a stretch but we are going to go with it.
This is great for a snack, dessert, or with your morning cup of coffee. I did not overkill it with the whiskey but if you want to have more whiskey in your loaves go ahead and add some to the batter by adding extra whiskey and less cream in the glaze. I made this in 3 four-inch loaf pans, you know the little aluminum ones you find in the supermarket. I like using the smaller pans as most of the time it’s just Jim and I home and I like to share with family and friends. This would be great to share around the holidays as well! UPDATE- this is my own creation I submitted to taste of home and won in a contest! It’s a keeper!
INGREDIENTS
- 1 1/2 cups flour
- 1 1/4 teaspoons baking soda
- 1/2 teaspoon salt
- 1 cup brown sugar plus 2 Tablespoons
- 1/3 cup sour cream
- 1/4 cup vegetable oil
- 1 teaspoon pure vanilla extract
- 2 Tablespoon of Peach Whiskey
- 2 eggs
- 1 cup (2 large peaches) peeled and diced peaches (see below)
- 1/2 cup chopped pecans
FOR THE GLAZE
- 1 cup confectioners sugar
- 4 Tablespoons of heavy cream or milk
- 3 Teaspoons peach whiskey or to taste
DIRECTIONS
Preheat oven to 350 degrees. Grease 3 mini loaf pans and set aside. To make peeling the peaches really easy simply bring a large pot with water to a boil. On the bottom of both peaches using a sharpie knife score an X through the skin but not too far just enough to break through the skin. When the water is at a boil put the peaches in for 2-3 minutes depending on the size of your peaches but you will be able to see the skin where you sliced it to pull away just slightly, that’s when you know it’s ready. Put the peaches in an ice bath to stop any further cooking of the softening of the peaches. Once cooled simply peel with your hands or you can use a knife to help get the skin off but it usually comes off very easy. Once they are peeled cut into small dices and add to a small bowl with the 2 Tablespoons of peach whiskey and the 2 Tablespoons of brown sugar and set aside.
In a large bowl combine vegetable oil, sour cream, vanilla, and two eggs. Fold in the remaining dry ingredients and stir until combined. Add the peaches and whiskey mixture along with the pecans. Stir to combine. Divide evenly between the loaf pans and bake for 30-35 minutes or until cooked through. Remove from oven and allow to cool for 10-15 minutes and then remove the loaves from the pans and continue to let cool completely.
FOR THE GLAZE
Simply add all of the glaze ingredients together and stir well. When the loaves have cooled drizzle or coat the top of the loaves with your glaze.
Enjoy!

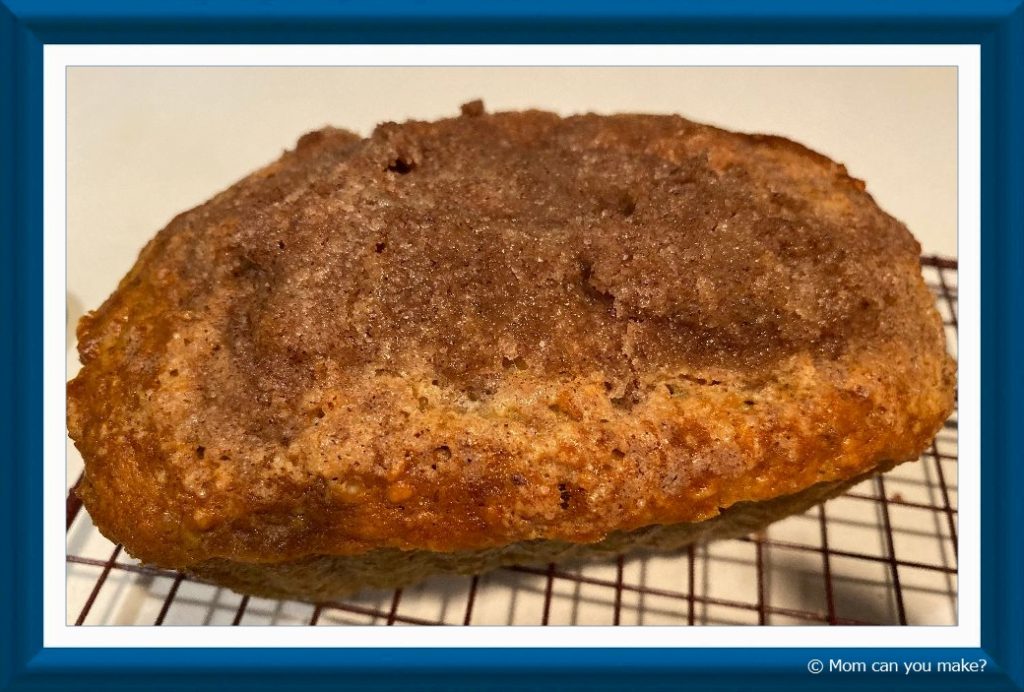
I always have banana’s around aa my family really enjoys banana bread. I am always looking for something new. This recipe I found on Pinterest and just might be my favorite banana bread or at least a close second to one of the banana loaves of bread from Taste of Home. That one has crushed pineapple in it. I like this one because it adds a nice crunch topping.
INGREDIENTS
FOR THE BANANA BREAD
- 1 1/2 cups all purpose flour
- 2 teaspoons baking powder
- 1/4 teaspoon baking soda
- 1 teaspoon salt
- 2/3 cup sugar
- 3/4 cup quick-cooking oats
- 1/4 cup canola oil
- 2 large eggs
- 1/3 cup milk
- 3 very ripe banana’s
- 1/2 cup walnuts, optional
FOR THE TOPPING
- 1/2 cup sugar
- 2 Tablespoons all-purpose flour
- 2 Tablespoons softened butter
- 1 teaspoon cinnamon
DIRECTIONS
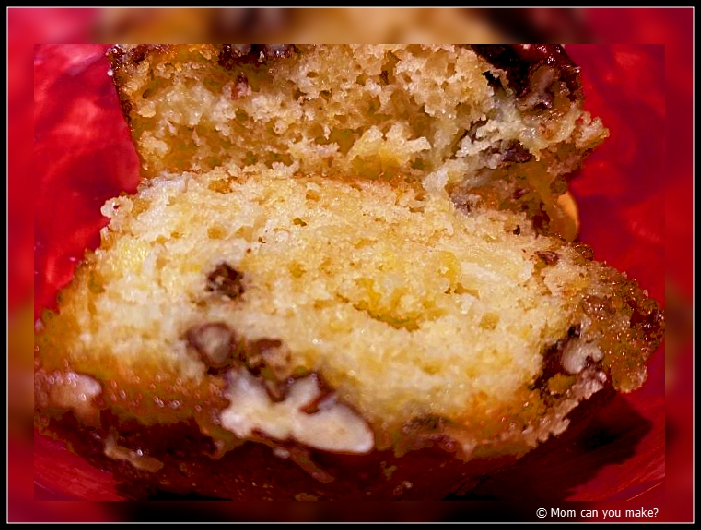
Preheat oven to 350 degrees. Prepare a 9×5 loaf pan with non-stick spray. In a medium bowl combine flour, baking soda, baking powder, oats, sugar, and salt. In a large bowl combine eggs, milk, oil and mashed banana’s.
Pour dry ingredients into the bowl with the wet ingredients and mix until combined. Add walnuts to the batter and mix to combine.
Make your topping in a separate bowl by combining the flour, sugar, cinnamon, and butter. Using a fork, incorporate the butter until the mixture looks like wet sand.
Pour half of your banana bread batter into the prepared dish, top with half of the cinnamon mixture. Pour remaining batter into the pan and top with the remaining cinnamon mixture.
Bake at 350 degrees for 50-60 minutes or until a toothpick inserted into the bread comes out clean.
Enjoy!


