side dish
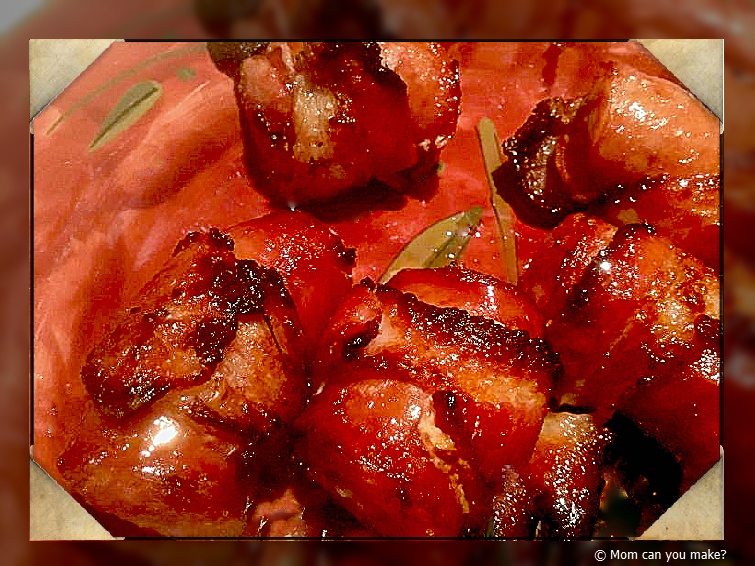
We have had a crazy couple of weeks around here so I have some super simple recipes coming up for you this week. I was doing a lot of baking last week and looked in the fridge for a little something for the boys around here and saw kielbasa and Bacon and a trusty bottle of BBQ sauce. I knew exactly what I was going to do. You guessed it, this amazing little gem was born! I air fried them, but they could easily be baked or even grilled in the summer!
INGREDIENTS
- 1 fully cooked kielbasa ring
- 4-5 slices of thick cut bacon
- 1/2 cup of your favorite barbecue sauce
DIRECTIONS
Cut the kielbasa link the same size as the width of the bacon. My kielbasa gave me 8-9 pieces. Cut the bacon slices large enough to wrap around the kielbasa pieces and secure the bacon with a toothpick. Do this for each of the kielbasa pieces. Slather the BBQ sauce all over the kielbasa, bacon pieces, and place in your air fryer.
Air fry at 400 degrees for 12-14 minutes or until the bacon is done until your deisired crispness. Let cool for just a couple minutes, remove the toothpicks and serve warm.
Enjoy!

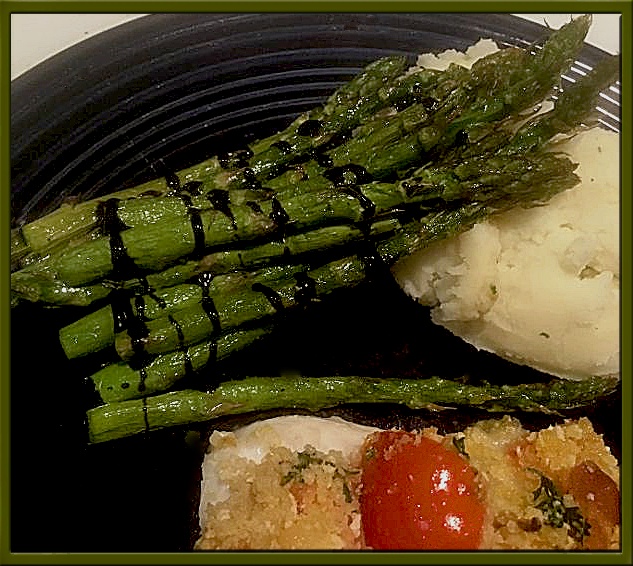
I made this side dish along with the haddock recipe you saw yesterday. You can easily roast the asparagus in the oven but I like that I can throw the asparagus in the air fryer and it’s done before my oven is heated up. The time on this is going to range with your personal preference. We like ours roasted until the asparagus is on the dark side, but not burned. If you like them more crisp certainly don’t air fry as long. I drizzled this with a balsamic glaze that I purchased at the grocery store. You can make your own syrup by simply reducing balsamic vinegar down until it is thickened slightly.
INGREDIENTS
- 1 bunch of asparagus
- pinch of salt
- pinch of pepper
- drizzle of olive oil
- balsamic glaze
DIRECTIONS
Trim the asparagus. Place the asparagus is a bowl and add the olive oil, salt and pepper. Using your hands mix the asparagus making sure that it is all covered with the oil and seasoning.
Turn your air fryer to 400 degrees, add the asparagus and air fry for 8-10 minutes. Remove from air fryer and drizzle with balsamic glaze.
Enjoy!

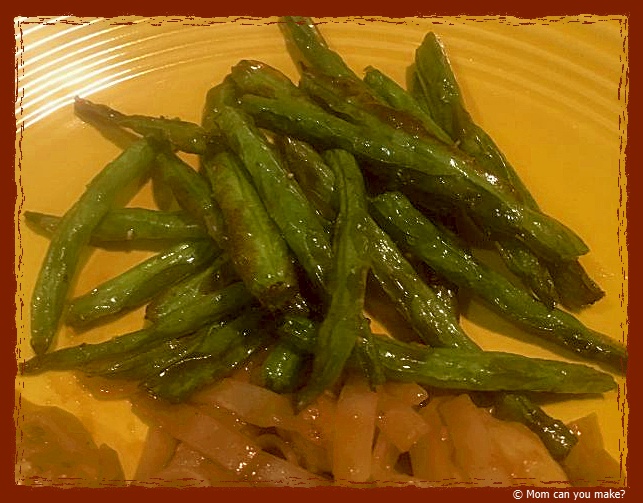
One of the best things about the air fryer is how it cooks fresh vegetables. The veggies are done faster than it would take for my oven to heat up, not to mention in the summer months there is no heating your house up. This really is not much of a recipe as it’s just a couple of ingredients. It has one additional ingredient that I like to use when I make green beans. It is a reduced balsamic syrup. You can buy that already reduced for you or just make your own by reducing your balsamic vinegar by adding balsamic vinegar to a pan over medium heat and reduce it to make it a thick syrup.
INGREDIENTS
1 pound green beans
1/4 cup olive oil
salt
pepper
Reduced balsamic vinegar – optional
DIRECTIONS
Place the green beans in a medium bowl, add the olive oil, pinch of salt and a pinch of pepper and mix to combine making sure the beans are covered in the oil.
Place the greeen beans in your air fryer and fry at 400 degrees for 7-8 minutes. Remove from fryer drizzle with balsamic if desired and serve warm.
Enjoy!

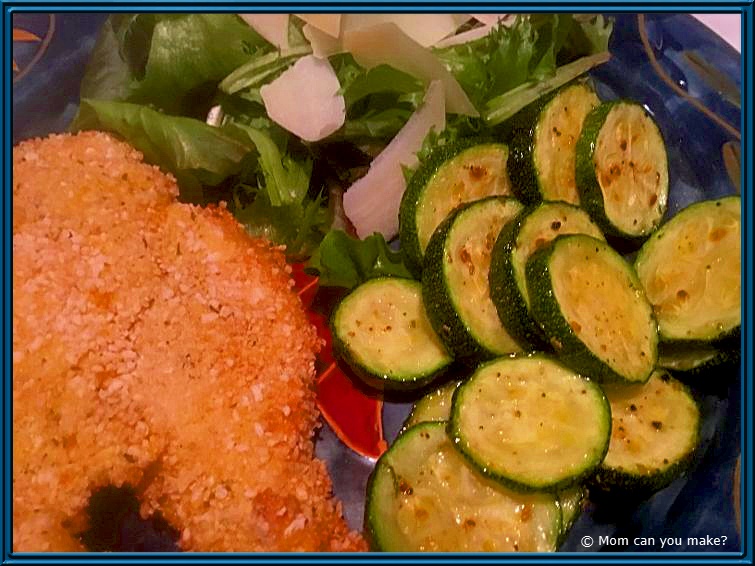
I have really been enjoying making fresh vegetables in the air fryer. It’s such a simple and delicious side dish to your dinner and done faster than my oven preheats! You can add any seasoning you like but I used an Italian seasoning blend giving it that pop of flavor I think zucchini needs. This dinner was just for Jim and so I only used 2 small zucchini.
INGREDIENTS
2 small zucchini sliced into 1/2 inch rounds
Drizzle of olive oil
1 teaspoon Italian seasoning
DIRECTIONS
Place your zucchini rounds in a medium bowl, drizzle with olive oil, enough to coat each of the rounds. Add the seasoning and mix to combine.
Air fry at 400 degrees for 7-8 minutes. Remove from fryer and serve warm.
Enjoy!

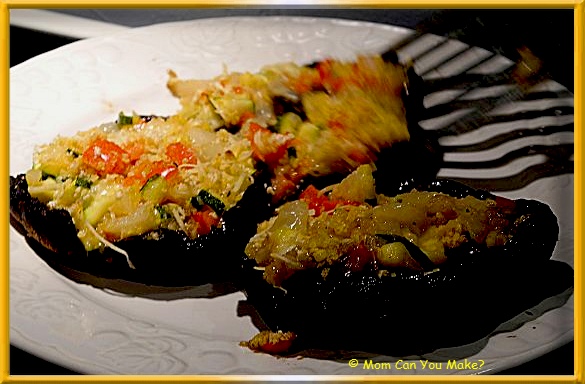
This year we celebrated Christmas early as our niece Sarah was coming for a quick visit and because we don’t get to see her often or celebrate holidays with her we decided it would be a nice thing to do with her. Sarah is a strict vegetarian by choice so I knew I had to change up my menu a little bit for her. I knew I wanted something hearty and filling for her so she would not miss the meat so I decided on these stuffed portabella mushrooms. I have to be honest I really, really dislike mushrooms of any kind. I have tried them several ways and they just don’t do it for me so I rarely make them and in this case although I made them I did NOT eat them. My Mom and Sarah enjoyed them and none went to waste so I know for all of you mushroom lovers out there these are good.
INGREDIENTS
Olive oil cooking spray
4 Portabella mushrooms
1 Tablespoon olive oil
1 cup red bell pepper, chopped
1 cup zucchini, chopped
1 small onion, diced
2 cloves garlic, minced
1/2 teaspoon salt
1/4 teaspoon black pepper
1 cup extra sharp cheddar cheese
1 cup Panko bread crumbs
Pinch of red pepper flakes-optional
DIRECTIONS
Line a pan with aluminum foil, set aside. Remove the stems from the mushrooms, chop and set aside. Remove the gills from the mushrooms with a spoon and discard. Place the mushrooms top side up on the pan. Spray with cooking spray and place about 5 inches under the broiler. Broil for about five minutes, the mushrooms will be tender and juices will be running from them. Remove from oven and set aside.
In a medium skillet sauté onions, pepper and garlic over medium heat stirring often until tender and browning. Stir in the chopped mushroom stems, zucchini. Salt and pepper. Cook for another 4-5 minutes or until tender. Stir often. Remove from heat and pour any of the mushroom juices from the broiled mushrooms in the pan along with the veggies. Let the mixture cool.
Stuff each mushroom evenly with the veggie mix, top each with the cheese and place back under the broiler for 4-5 minutes or until cheese is melted. Remove from the oven and serve warm.
Enjoy!


