Pie

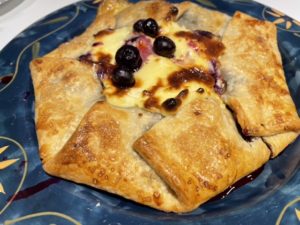
This is the second galette I made with the gifted pie crusts I received. Although we really liked this blueberry cheesecake galette it’s best eaten on the same day it’s made and I found that the cheesecake part of the topping got slightly browned while cooking so next time I may take a small piece of tin foil to cover the fruit and cheesecake part of the galette. Overall this was a very good dessert and reasonably easy to make!
Note- when I transferred the galette from the baking sheet to the plate a couple blueberries snuck out so I just placed them on the top!?
INGREDIENTS
1 pre made refrigerated pie crust
1 1/2 cups fresh blueberries
1/3 cup plus 2 Tablespoons granulated sugar
1 Tablespoon fresh lemon juice
4 teaspoons cornstarch
Pinch of salt
8 ounce package of cream cheese, softened
1 large egg, plus 1 yolk
2 Tablespoons of water
Coarse sugar for sprinkling
INSTRUCTIONS
Unroll the refrigerated pie dough and place it on a baking sheet that has been lined with parchment paper or tin foil.
To make your blueberry filling mix blueberries, 1/3 cup of sugar, lemon juice, cornstarch and salt in a bowl.
In a separate bowl make your cheesecake filling. Whisk together softened cream cheese, egg yolk and remaining sugar.
Spread half of the cream cheese mixture over the pie dough leaving a 1 1/2 inch border around the edge of the dough. Top with the blueberry mixture again leaving the border. Fold the pie dough crust partially over the filling. Spread the remaining cream cheese over the top of the blueberries and refrigerate for 30 minutes.
Pre heat oven to 425 degrees.
Brush the outer side of the dough with the beaten egg and water. Sprinkle with the corse sugar and bake for 20 minutes or until dough is cooked through and golden.
Enjoy!

This recipe can also be found on Pinterest.

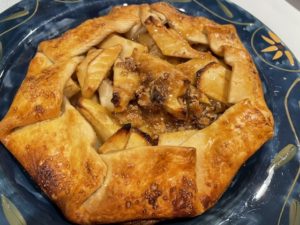
I have two Galette recipes for you this week. This one is my favorite one. it’s a quicker version of my caramel apple pie. A few days after Christmas we were at a friends for dinner and I was given two packages of pre made pie dough as our friends Christmas plans and menu changed due to the ice storm we had on Christmas Day. Our roads will filled with accident after accident, so many people changed or cancelled plans. So to not let the crusts go to waste I made two of these Caramel Apple Galettes, one for us and one for our friends! This would be great served with vanilla or caramel swirl ice cream.
INGREDIENTS
2 Granny Smith apples, peeled, cored and sliced
2 Tablespoon flour
1/2 teaspoon cinnamon
1/3 cup packed brown sugar
1/2 teaspoon vanilla
3 teaspoons fresh lemon juice
1/4 cup chopped pecans
Drizzle of caramel sauce
2 1/2 Tablespoons Raw sugar-course finishing sugar
1 egg
2 teaspoon water
DIRECTIONS
Heat oven to 425 degrees.
Line a baking sheet with tin foil. In a mixing bowl combine apple, flour, cinnamon, brown sugar, vanilla, lemon juice and pecans. Mix well to combine.
Lay the crust out on the lined baking sheet, mound the filling in the center of the crust leaving about 2 inch margin around the edge of the crust. Fold a section of the crust up partially covering the fruit, continue to do this around the entire galette.
Make an egg wash by mixing the egg and water together and brush the outside 0f the crust with the wash then sprinkle the raw sugar over the top of the egg wash. Bake for 20 or so minutes watching close as too not burn. Remove from oven and drizzle the top of the galette with your favorite caramel sauce. (The same kind you would put on ice cream)
Enjoy!


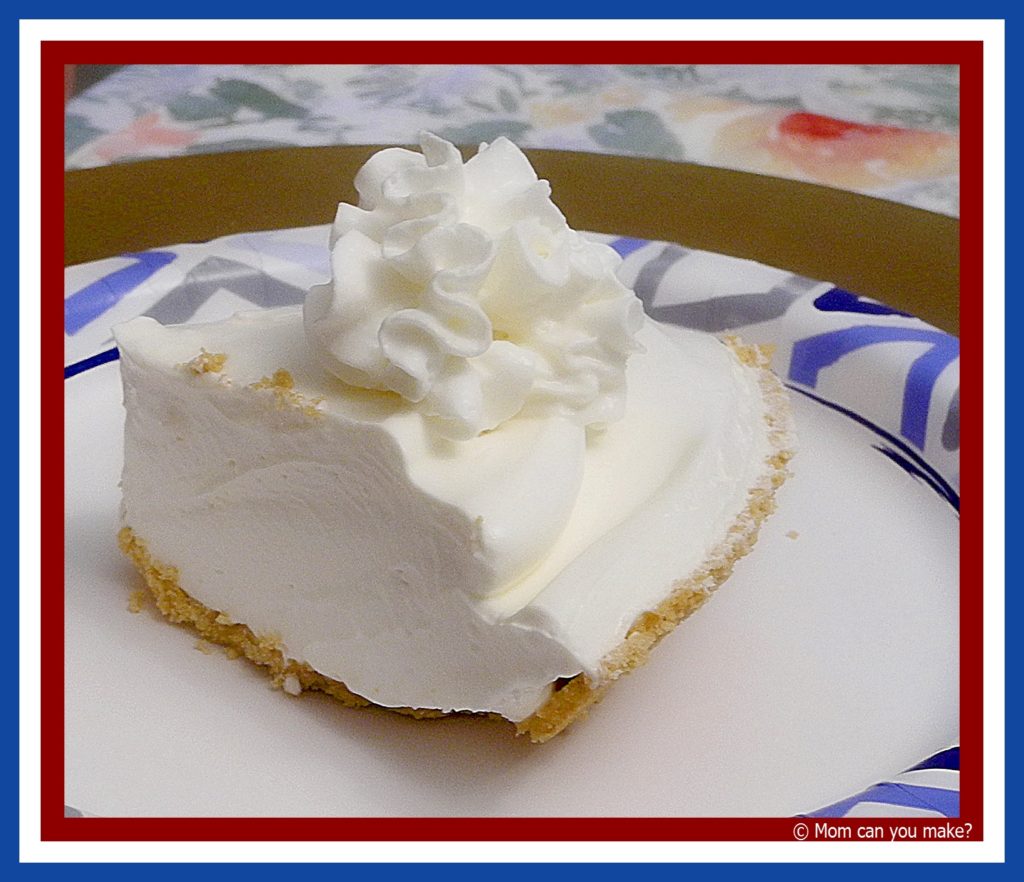
This time of year I am always looking for easy “no-bake” desserts that I can make in our motorhome. I came across a couple of very similar no baked pies on Pinterest but this one looked so easy with just a couple of ingredients. I knew I wanted to try it on our first trip out. I made this in the morning before we went out for the day so when we got back it would be ready. Jim and I knew after just one bite I would be making this often. Sure enough, when we went to visit our daughter and her family in NY I made it for them and sure enough, they could not get enough of it.
I made this a third time for my parents and a friend and sure enough, everyone that has tried this pie loves it. I love it because it’s ridiculously easy!
INGREDIENTS
- 1 (14 0z.) can sweetened condensed milk (not evaporated milk)
- 1/2 cup lemon juice
- 1 (8 Oz) container of Cool Whip, thawed, more for topping if desired
- 1 graham cracker pre-made pie crust
DIRECTIONS
In a bowl combine the sweetened condensed milk with the Cool Whip and lemon juice. Stir to combine. When well incorporated pour the mixture into the pre-made crust. Cover and refrigerate for a couple of hours. When ready to serve you can add a dollop of Cool Whip if desired.
Enjoy!


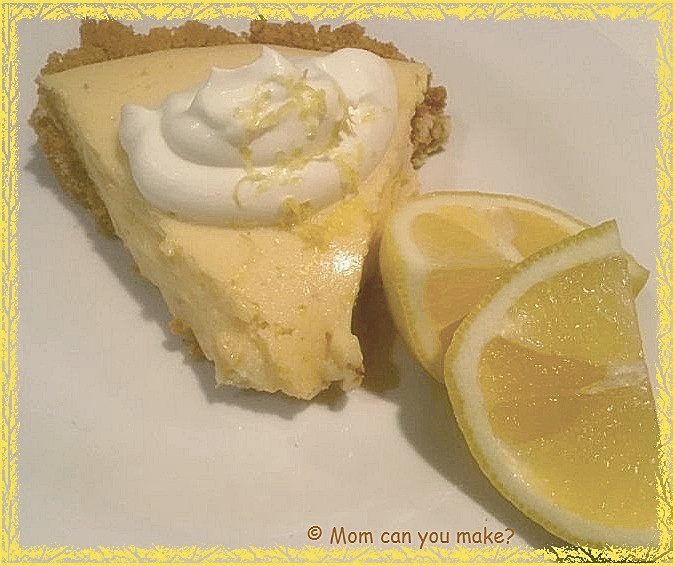
I made this pie for Jim’s Birthday a few weeks ago and boy was it delicious! Let’s face it, a tart lemon pie brings back the feeling of summer on a cold winter day. That will keeps those winter blues away! I found this recipe on Pinterest through another blogger that I enjoy. www.thegirlwhoateeverything.com
The only thing that I did just a little different was to add lemon zest into the filling for that extra bit of tartness. You could make this even easier by using a store bought crust but you may have extra filling. These would be cute in individual tart size too!
INGREDIENTS
- 1 1/2 cups crushed graham crackers
- 6 Tablespoons butter, melted
- 1/3 cup sugar
- 2 (14 ounce) cans sweetened condensed milk
- 3 egg yolks
- 2/3 cup lemon juice
- zest of 2 lemons
- dash of salt
WHIPPED CREAM
(can use store bought if desired)
- 1 cup heavy cream
- 1/3 cup powdered sugar
- 1 teaspoon vanilla extract
DIRECTIONS
Preheat the oven to 350 degrees. For the crust, spray a pie dish with
For the pie filling, using a mixer, mix the condensed milk, egg yolks, lemon zest, lemon juice and salt. Beat on medium speed for 4-5 minutes. Pour into pie crust and bake for 10 minutes at 350 degrees. Little bubbles will start to form. Cover the pie if it starts to brown too much towards the end.
Chill in the refrigerator for at least an hour before serving.
For the whipped cream, mix the cream, sugar, and vanilla. Whip until fluffy. Add to cooled pie and serve.
Enjoy!


