Gluten free
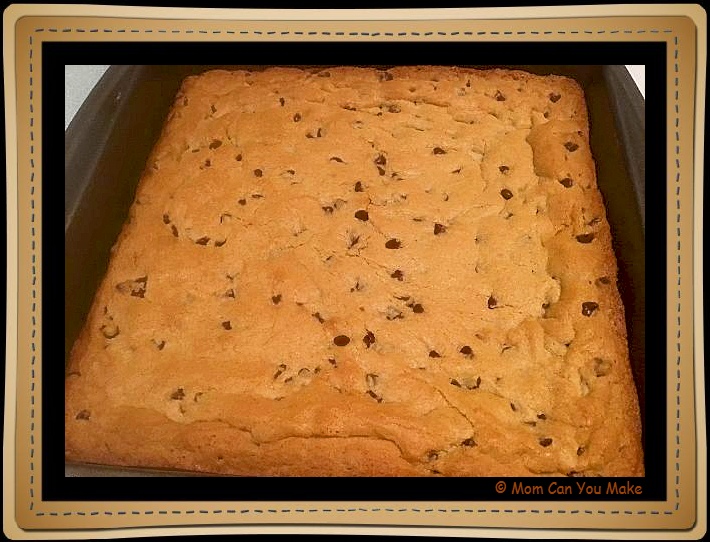
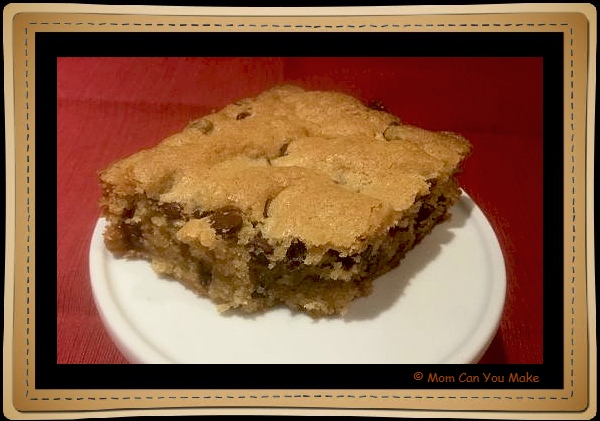
I came across this recipe from a blog called My Gluten-Free Kitchen for peanut butter brownies. I knew Robby would enjoy them, but not only did Robby like them, but both Jim and I did also. For
INGREDIENTS
1 cup gluten-free flour
1/2 teaspoon xanthan gum only if your flour blend does not contain it
1 teaspoon baking powder
1/8 teaspoon salt
1/3 cup butter, softened or non-dairy alternative, I used Earth’s Balance
1/2 cup gluten-free creamy peanut butter
1 cup sugar
1/4 cup firmly packed brown sugar
2 eggs
1/2 teaspoon pure vanilla extract
1 cup semi-sweet chocolate chips, I used Good Life brand
DIRECTIONS
In a small bowl whisk together the gluten-free flour, xanthan gum if you are using it, baking powder and salt. Set aside. In the bowl of your electric mixer use the paddle blade to beat the softened butter and peanut butter together until light and fluffy. Gradually add the sugar and brown sugar creaming together well. Add the eggs one at a time mixing after each one. Add the vanilla while still mixing. Add the flour mixture a little bit at a time until it’s all combined. Stir in the chocolate chips and mix until the chips are equally distributed through the batter.
Pour the mixture into a greased 8-inch square baking pan. Bake at 350 degrees for 25-30 minutes. My oven cooks hot so mine
Let cool for a few minutes and enjoy a warm gooey brownie or let completely cool and enjoy a chewy brownie!
Enjoy!

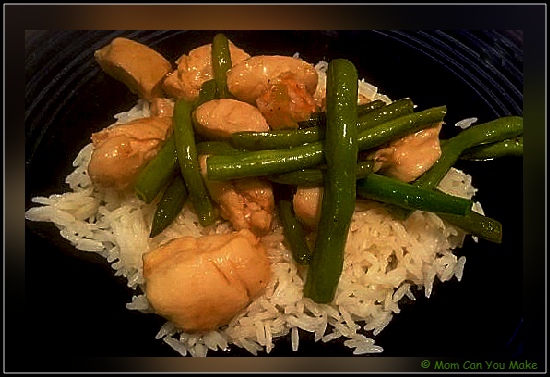
I love quick and easy dishes that are not only good for you but have great flavor too! This is one of those dishes. I actually made this dish twice, once with the chicken as pictured above, but also with large peeled and deveined shrimp. A
INGREDIENTS
2 Tablespoons garlic infused olive oil.
3/4 lb. green beans, washed and trimmed
1 lb. chicken cut into bite-size pieces (or s
2 Tablespoons soy sauce
1/2 teaspoon red pepper flakes
salt to taste
cooked white rice for serving
DIRECTIONS
Heat oil in a large skillet or wok over
Add the chicken into the same pan you had the green beans in and cook the chicken until fully cooked through and there is no pink. Add the green beans back. Add the soy sauce and red pepper flakes stir and cook for just another minute. Season with salt and serve warm over your cooked rice.
Enjoy!

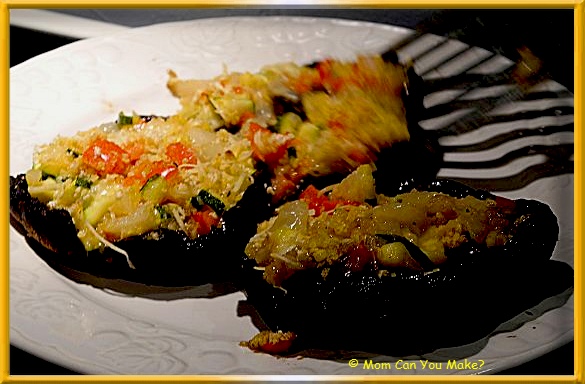
This year we celebrated Christmas early as our niece Sarah was coming for a quick visit and because we don’t get to see her often or celebrate holidays with her we decided it would be a nice thing to do with her. Sarah is a strict vegetarian by choice so I knew I had to change up my menu a little bit for her. I knew I wanted something hearty and filling for her so she would not miss the meat so I decided on these stuffed portabella mushrooms. I have to be honest I really, really dislike mushrooms of any kind. I have tried them several ways and they just don’t do it for me so I rarely make them and in this case although I made them I did NOT eat them. My Mom and Sarah enjoyed them and none went to waste so I know for all of you mushroom lovers out there these are good.
INGREDIENTS
Olive oil cooking spray
4 Portabella mushrooms
1 Tablespoon olive oil
1 cup red bell pepper, chopped
1 cup zucchini, chopped
1 small onion, diced
2 cloves garlic, minced
1/2 teaspoon salt
1/4 teaspoon black pepper
1 cup extra sharp cheddar cheese
1 cup Panko bread crumbs
Pinch of red pepper flakes-optional
DIRECTIONS
Line a pan with aluminum foil, set aside. Remove the stems from the mushrooms, chop and set aside. Remove the gills from the mushrooms with a spoon and discard. Place the mushrooms top side up on the pan. Spray with cooking spray and place about 5 inches under the broiler. Broil for about five minutes, the mushrooms will be tender and juices will be running from them. Remove from oven and set aside.
In a medium skillet sauté onions, pepper and garlic over medium heat stirring often until tender and browning. Stir in the chopped mushroom stems, zucchini. Salt and pepper. Cook for another 4-5 minutes or until tender. Stir often. Remove from heat and pour any of the mushroom juices from the broiled mushrooms in the pan along with the veggies. Let the mixture cool.
Stuff each mushroom evenly with the veggie mix, top each with the cheese and place back under the broiler for 4-5 minutes or until cheese is melted. Remove from the oven and serve warm.
Enjoy!

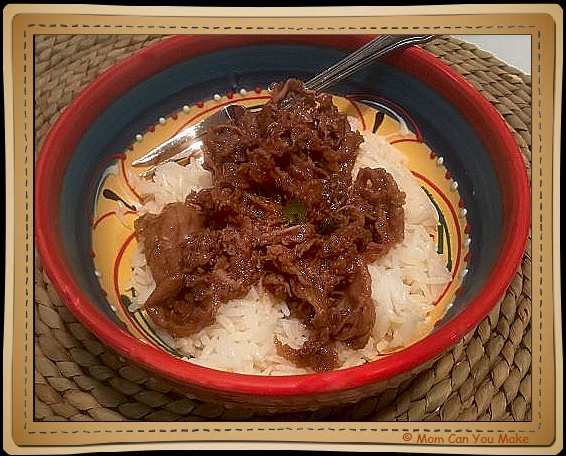
This is a slightly different version of Mongolian Beef. It’s made with shaved steak that you can easily find in your grocery store right next to those big cuts of steak. Because this is shaved steak, it cooks up in no time. The addition of the jalapeño gives the dish a nice punch of heat but not overwhelming. I served this over white rice. You can boil your rice, or to make dinner even faster, you can use the little microwave rice cups. It’s your kitchen so I won’t tell! My family loved this dish so much I made it twice in the same week with no leftovers! This is one recipe we will be having often.
INGREDIENTS
1 pound fresh shaved steak
5 cloves of garlic, minced
1 jalapeño, seeded and diced
1 inch fresh ginger, peeled and diced
3 scallions thinly sliced
2 Tablespoons corn starch
FOR THE SAUCE
1/2 cup low sodium soy sauce
1/2 cup brown sugar
DIRECTIONS
Toss the shredded steak into a large bowl with 2 Tablespoons of corn starch and set aside. Combine the sauce ingredients in a small bowl and set aside. Heat a pan over medium heat until hot, add the canola oil to the hot pan. Add the jalapeño and ginger cooking for a few minutes while stirring occasionally. Add the garlic and the beef to the pan. Evenly distribute the beef. Cook until the beef is browned and cooked through, stirring often. Stir the sauce and pour over the beef mixture. Mix well so everything is coated with the sauce. Let simmer for a just a minute or two and serve warm over cooked rice. Garnish with sliced scallions.
Enjoy!

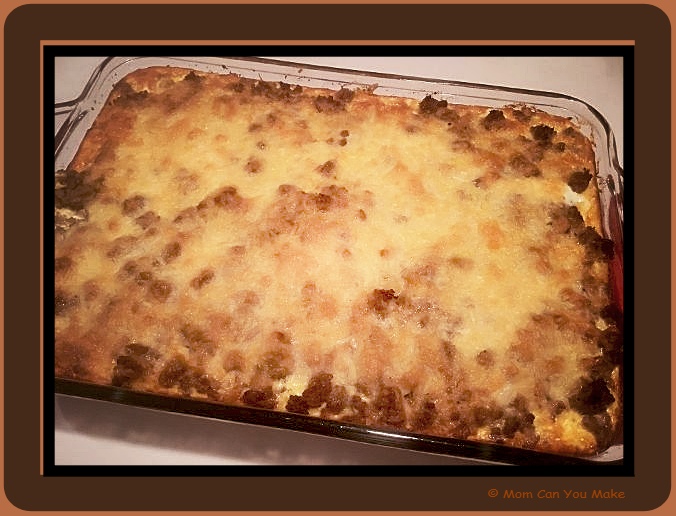
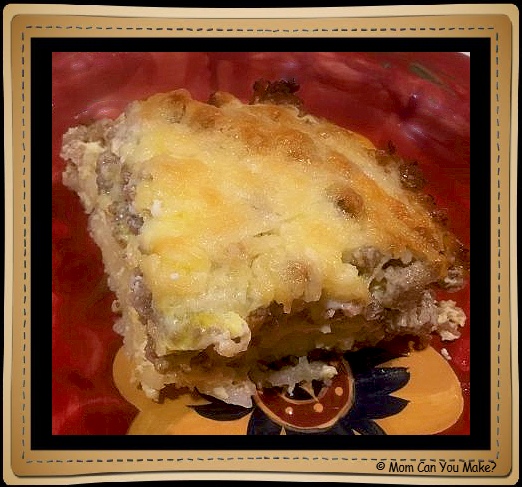
I came across this recipe on Pinterest and knew I wanted to make it as it is gluten-free and Robby would be able to it enjoy it. Although this is a breakfast dish we had it for dinner as it is definitely hearty enough to fill you up. This would be a great start to Christmas morning especially if you are cooking for a crowd as this makes a full 9 x 13 dish.
This can also be cut in half and made in an 8×8 pan.
INGREDIENTS
2 pounds Jimmy Dean hot sausage
1 bag (30 – 32 ounce) bag of shredded hash browns
pinch of salt
pinch of pepper
1/4 tsp. garlic powder
1 cup shredded cheddar cheese
1 cup shredded Monterey Jack cheese
8 eggs
2 cups milk or non-dairy milk
In a large non-stick skillet, cook the sausage until no longer pink crumbling as it cooks. Drain fat and set aside. Add hash browns into a 9 x 13-inch casserole dish that you have sprayed with a non-stick spray. Pushing the hash browns down slightly. Turn your oven to broil and place the potatoes in the oven with the door slightly ajar. Keep an eye on the potatoes as you just want the top of the hash browns to get lightly browned. Once browned, remove from the oven and turn the oven to 350 degrees. Top the hash browns with the sausage crumbles and both of the cheeses. In a medium bowl whisk together the eggs, salt, pepper, and garlic powder. Add the milk and whisk again. Pour over the sausage and hash browns. If you are making this the night before you can cover and refrigerate at this point. Bake uncovered for 35-40 minutes or until warmed all the way through.
Enjoy!


