Food for Robby
Gluten free, low dairy and low fodmap
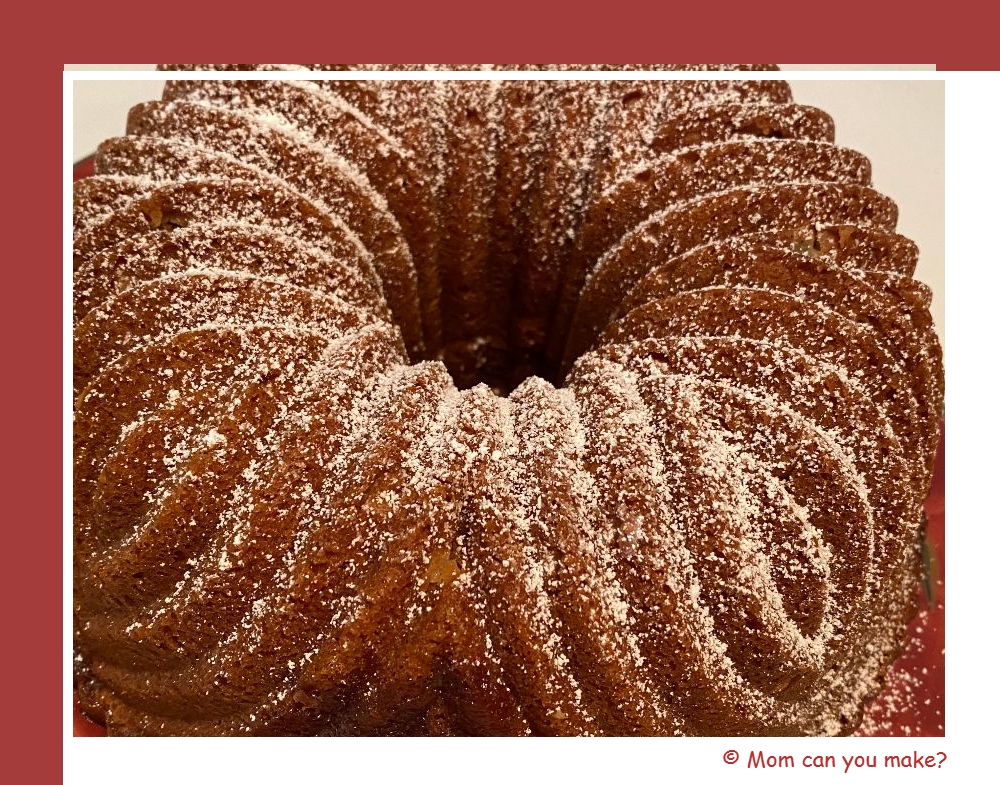
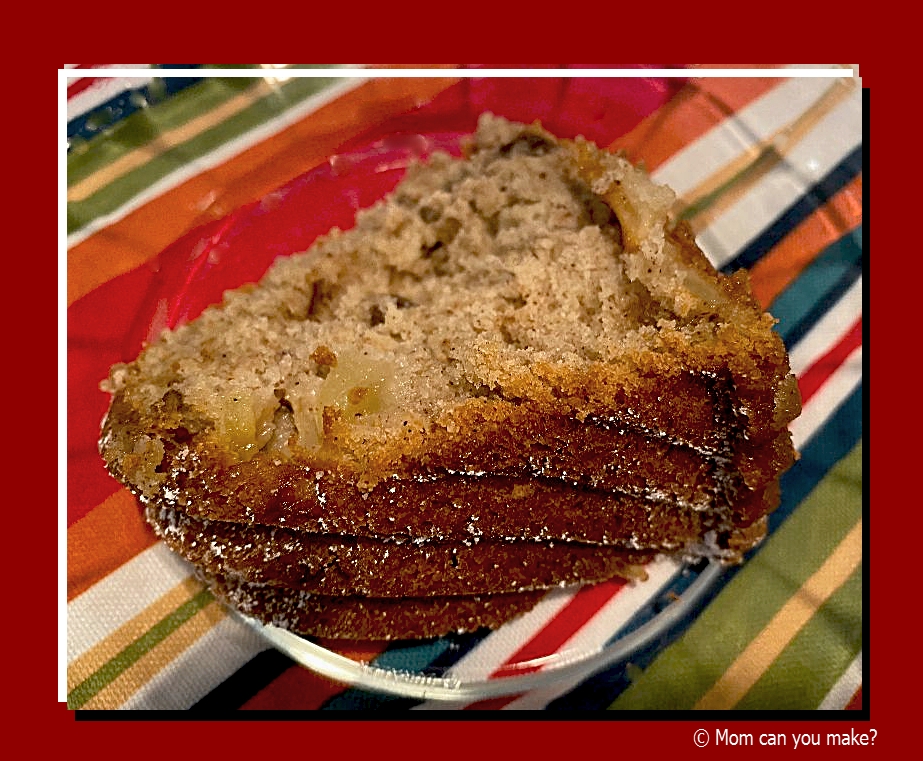
When I came upon this recipe on Pinterest from the website Momma Knows Gluten Free, I knew right away Robby would love this dish. I also made this dairy-free using Earth’s Balance butter. I used a gluten-free flour that HAS xanthan gum, so if yours does not be sure to add 3/4 teaspoon to your flour mixture. You and your gluten-free friends will love this dish and your gluten eaters won’t know the difference! It’s a win, win! Robby has already requested this one again and that does not happen often!
INGREDIENTS
For the cake
- 1 cup softened butter. For dairy-free, use Earth’s Balance or Smart Balance
- 2 cups of sugar
- 4 eggs, room temperature
- 1 Tablespoon pure vanilla extract
- 3 cups gluten-free flour
- 3/4 teaspoon xanthan gum if your flour does not have it already in it
- 1 teaspoon GF baking powder
- 1/2 teaspoon baking soda
- 1 Tablespoon ground cinnamon
- 1 cup buttermilk for dairy-free. I used Fair Life and added 1 Tablespoon of white vinegar to the milk and let stand for 5 minutes.
- 3 cups of apples, peeled and chopped
- 1 cup pecans, chopped
For the glaze
- 1/3 cup melted butter, I used Earth’s balance
- 3/4 cup brown sugar
- 2 Tablespoons water
- 2 teaspoons pure vanilla
- 1/4 teaspoon ground cinnamon
- sprinkle with powdered sugar-optional
DIRECTIONS
For the cake
Preheat the oven to 325 degrees. Spray a bundt pan with non-stick spray and set aside. In a large bowl, cream butter and sugar together in your mixer. Add the rest of the dry ingredients and wet cake ingredients to your bowl and mix until combined. The batter will be thick. Add your peeled and chopped apples and the pecans and stir by hand to combine. Pour the batter into your prepared pan and bake for 70 minutes or until a toothpick inserted into the cake comes out clean.
For the Glaze
Combine all of the glaze ingredients in a small saucepan over medium-low heat. Stir continuously until the butter is melted and the sugar is dissolved. Don’t bring it to a boil.
While the cake is still warm and still in the pan, poke holes all over the cake using toothpicks going down as far into the cake as you can without going all the way to the very bottom. Pour the butter glaze all through the cake letting the mixture soak into the cake. Allow the cake to cool completely in the pan and then invert to a serving platter. Sprinkle with powdered sugar if desired.
Enjoy!


We LOVED this dish. I used carrots and broccoli but you can easily add any of your favorite vegetables just be sure to cut them about the same size so they cook evenly. My family likes sauce so I did not reduce the sauce very much as I wanted that extra sauce to coat some of the jasmine rice. Of course, if you want a thicker sauce just reduce it to your liking. This is sweet from the honey, a little salty from the soy just perfect to add flavor to the chicken.
INGREDIENTS
Teriyaki sauce
- 1/2 cup lite soy sauce
- 3 cloves of garlic, minced
- 1/2 cup of honey
- 1 Tablespoon rice vinegar
- 1/2 cup chicken broth
- 1 1/2 Tablespoons cornstarch
Chicken Teriyaki
- 2 Tablespoons olive oil
- 1 to 1 1/2 pounds of boneless skinless chicken breast, cut in bite-size pieces
- 1 Tablespoon cornstarch
- salt
- pepper
- 2 cloves of garlic minced
- 1 to 1 1/2 cups broccoli florets
- 1 cup sliced carrots
- 1 Tablespoon of diced scallions for garnish
- Jasmine rice, cooked according to package directions
DIRECTIONS
Chop and slice vegetables and set aside. Whisk all of the ingredients for the sauce together and set aside. Place your bite-size chicken pieces in a Zip loc bag, add a pinch of salt and pepper. Add the cornstarch to the bag and coat all of the chicken pieces with the cornstarch.

Preheat a large pan over medium heat, add oil. Sauté chicken until almost done. Add your vegetables to the pan and sauté until the chicken is cooked through and your veggies are crisp-tender. If you think your chicken is cooked through and your veggies are not, simply take the chicken out of the pan and add back in when you are reducing the sauce. When the veggies are almost done add the minced garlic.
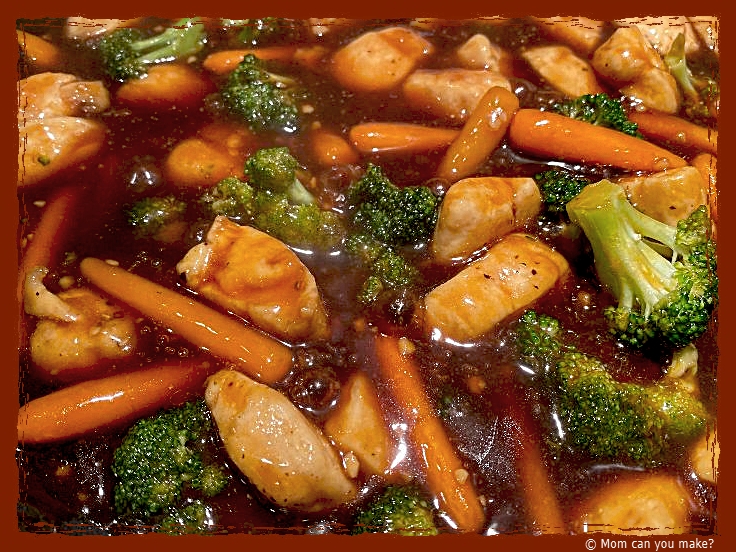
Add the sauce mixture and reduce to desired thickness. Remove from stove, add diced scallions if desired and serve over cooked jasmine rice.
Enjoy!

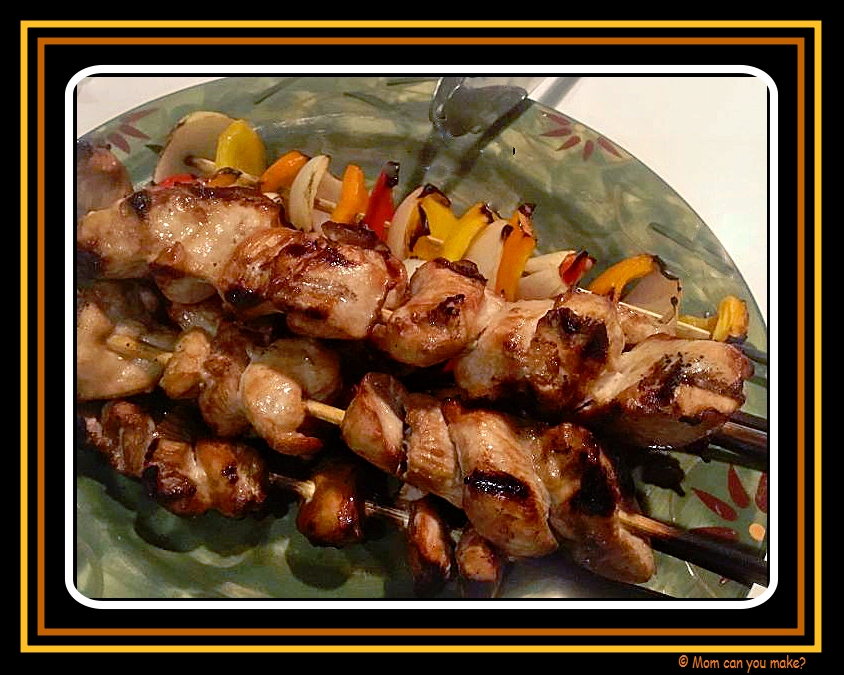
This is an easy dish any time of year and anyplace you may be. You don’t have to be in Key West to make them although that’s always a fun place to be! You don’t want to marinate the chicken for too long as this recipe has lime juice in it. I let it marinate for the amount of time it takes me to cut up vegetables and skewer to grill alongside the chicken.
INGREDIENTS
- 3 Tablespoon of soy sauce
- 2 Tablespoons of honey
- 1 Tablespoon of vegetable oil
- juice of 1 lime
- 1 teaspoon of minced garlic
- 3 boneless skinless chicken breasts
- skewers, soaked in water.
DIRECTIONS
Cut the chicken into 1-2 inch cubes, skewer on to bamboo sticks that have been soaked in water to prevent burning on the grill. Place the skewers in a food storage container. Add all of the remaining ingredients together in a bowl and mix well. Pour the marinade over the chicken skewers being sure to coat all of the chicken. Let marinate for 30 minutes in the fridge.
When you are ready to grill simply remove the skewers from the container and discard leftover marinade. Grill over medium-high heat for 5-6 minutes per side or until juices run clear.
Enjoy!

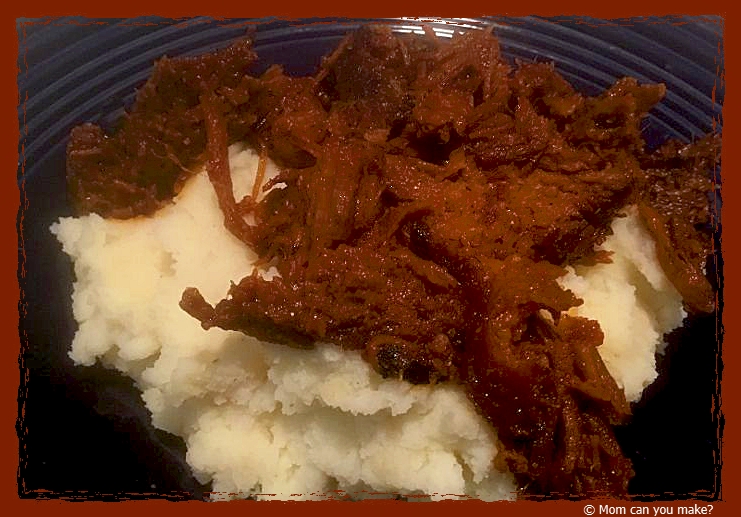
This BBQ beef dish has been one of my family’s absolute favorite recipes lately. With the cold weather here this dish is perfect. Easy to make and my house always smells delicious while it’s cooking. I serve this over garlic mashed potatoes but you could easily serve in tacos too. I use a gluten-free maple BBQ sauce but you can use your favorite store-bought or homemade sauce.
INGREDIENTS
- 2-3 pound roast
- 4 Tablespoons olive oil
- pinch of salt
- pinch of pepper
- 28 ounce of barbecue sauce
DIRECTIONS
Preheat oven to 325 degrees. Drizzle 1 Tablespoon of the olive oil on the roast. Sprinkle with salt and pepper and rub into the roast. Do this on all sides of the roast.
Heat 2 Tablespoons of oil in a Dutch oven on medium-high heat. Once the oil is hot carefully put the seasoned roast in the pan and sear it for about 2 minutes until browned. Carefully turn the roast over and sear the second side. Using tong hold the roast on the edges and sear all of the edges.
Pour the bottle of BBQ sauce into the pan lifting up the roast so the sauce can get underneath the meat. Put the lid on the Dutch oven and cook for 2 to 2 1/2 hours or until cooked through. Let the roast rest and shred using 2 forks.
Enjoy!

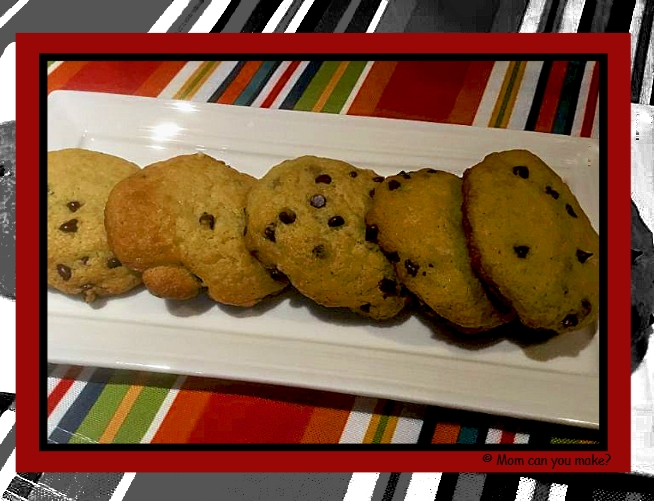
Although I made these for Robby as they are gluten-free even the gluten eaters in the family enjoyed these muffins tops! These were easy to make with everything I already had in my pantry. I will be making these often!
INGREDIENTS
- 2 cups gluten-free flour ( I used Bob’s 1 for 1)
- 1 cup of sugar
- 1 Tablespoon baking powder
- 1 teaspoon baking soda
- 3/4 teaspoon xanthan gum if your flour does not have it in there already
- 1/4 teaspoon salt
- 1/2 cup of milk, I used Fair Life
- 1/2 cup canola oil
- 2 large eggs
- 2 teaspoons vanilla extract
- 1 1/2 cups of semi-sweet chocolate chips. I used Enjoy Life
DIRECTIONS
Preheat oven to 350 degrees. Spray baking sheets with non-stick spray and set aside.
Mix the flour, sugar, baking powder, baking soda, and xanthan gum( if using} in a large bowl. In another medium bowl add the milk, oil, eggs, and vanilla and beat them all together. When mixed well, add the wet ingredients into the flour mixture and stir until combined. Fold in the chocolate chips.
Scoop out about 1/4 cup of the batter and place on your prepared baking sheets leaving some room as the batter will spread slightly. Bake for 13 – 18 minutes depending on the size of your muffin tops. They will be a light golden brown and slightly puffed up when they are done. Allow to sit in the pan for a couple of minutes then transfer muffin tops to a cooling rack to finish cooling.
Enjoy!


