Family favorites
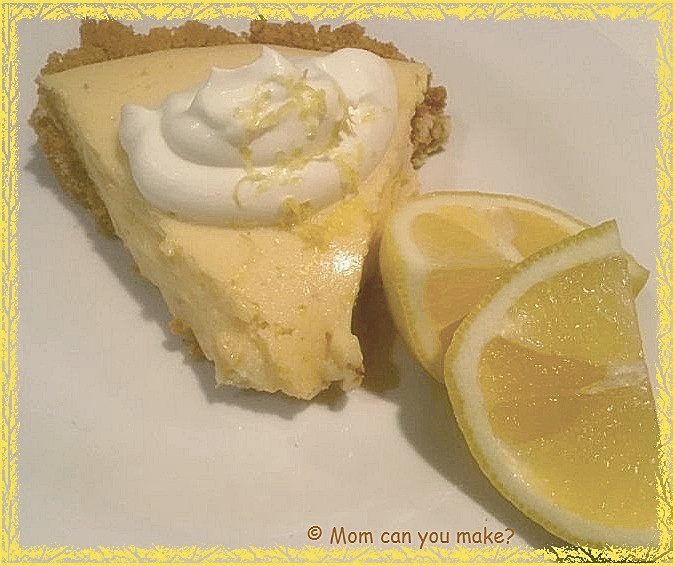
I made this pie for Jim’s Birthday a few weeks ago and boy was it delicious! Let’s face it, a tart lemon pie brings back the feeling of summer on a cold winter day. That will keeps those winter blues away! I found this recipe on Pinterest through another blogger that I enjoy. www.thegirlwhoateeverything.com
The only thing that I did just a little different was to add lemon zest into the filling for that extra bit of tartness. You could make this even easier by using a store bought crust but you may have extra filling. These would be cute in individual tart size too!
INGREDIENTS
- 1 1/2 cups crushed graham crackers
- 6 Tablespoons butter, melted
- 1/3 cup sugar
- 2 (14 ounce) cans sweetened condensed milk
- 3 egg yolks
- 2/3 cup lemon juice
- zest of 2 lemons
- dash of salt
WHIPPED CREAM
(can use store bought if desired)
- 1 cup heavy cream
- 1/3 cup powdered sugar
- 1 teaspoon vanilla extract
DIRECTIONS
Preheat the oven to 350 degrees. For the crust, spray a pie dish with
For the pie filling, using a mixer, mix the condensed milk, egg yolks, lemon zest, lemon juice and salt. Beat on medium speed for 4-5 minutes. Pour into pie crust and bake for 10 minutes at 350 degrees. Little bubbles will start to form. Cover the pie if it starts to brown too much towards the end.
Chill in the refrigerator for at least an hour before serving.
For the whipped cream, mix the cream, sugar, and vanilla. Whip until fluffy. Add to cooled pie and serve.
Enjoy!

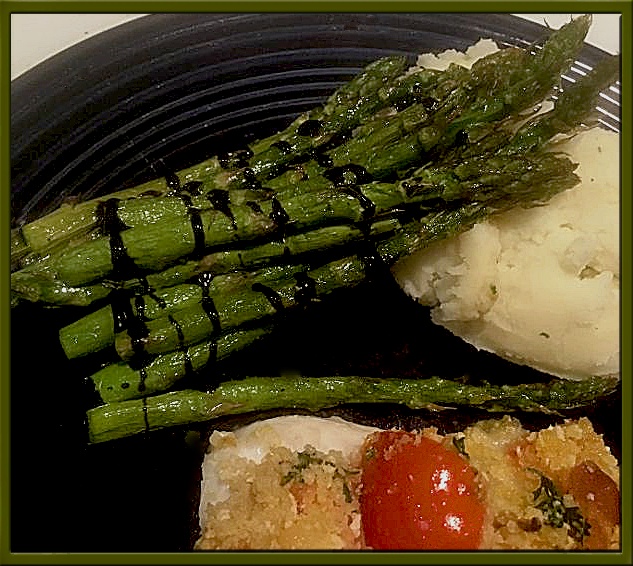
I made this side dish along with the haddock recipe you saw yesterday. You can easily roast the asparagus in the oven but I like that I can throw the asparagus in the air fryer and it’s done before my oven is heated up. The time on this is going to range with your personal preference. We like ours roasted until the asparagus is on the dark side, but not burned. If you like them more crisp certainly don’t air fry as long. I drizzled this with a balsamic glaze that I purchased at the grocery store. You can make your own syrup by simply reducing balsamic vinegar down until it is thickened slightly.
INGREDIENTS
- 1 bunch of asparagus
- pinch of salt
- pinch of pepper
- drizzle of olive oil
- balsamic glaze
DIRECTIONS
Trim the asparagus. Place the asparagus is a bowl and add the olive oil, salt and pepper. Using your hands mix the asparagus making sure that it is all covered with the oil and seasoning.
Turn your air fryer to 400 degrees, add the asparagus and air fry for 8-10 minutes. Remove from air fryer and drizzle with balsamic glaze.
Enjoy!

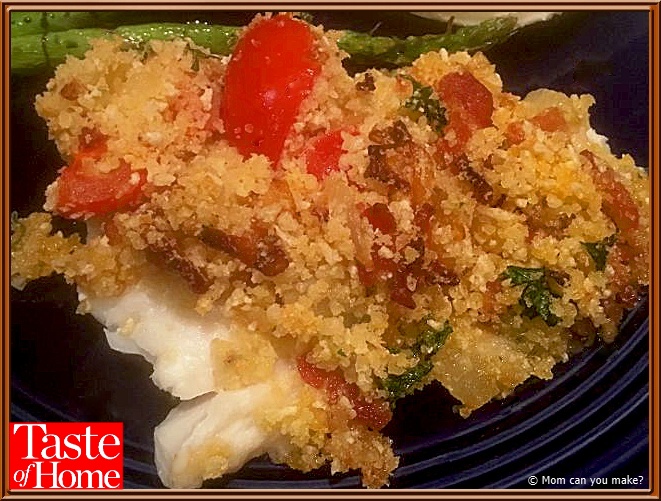
This became a family favorite after the very first bite. I love so many Taste of Home recipes but this one might be not only my favorite but also Jim’s! This is really that good and would be great for a date night and easy enough for company. The topping adds such great flavors to the haddock with the crunch of the panko, the sweet from the tomatoes and the salty from the bacon. This recipe is an absolute home run!
INGREDIENTS
- 6 bacon strips, chopped
- 1 medium onion, diced
- 1 garlic clove, minced
- 1 cup panko bread crumbs (can use gluten-free)
- 2 plum tomatoes, chopped
- 1/4 cup fresh minced parsley
- 2 Tablespoons olive oil
- 1 Tablespoon butter, melted
- 5 haddock fillets, about 6 ounces each
- 2 Tablespoons freshly squeezed lemon juice
- 1/4 teaspoon salt
DIRECTIONS
In a large skillet, cook bacon over medium heat until partially cooked but not crisp. Add onion and garlic cook until golden brown, stirring occasionally, about 10-15 minutes. Remove from heat and stir in bread crumbs, tomatoes
Pre heat oven to 400 degrees. Spread oil and butter in an ungreased baking dish. Place fillets in baking dish. Drizzle with lemon juice and sprinkle with salt. Top with the bread crumb mixture and bake uncovered for 10-15 minutes or until the fish flakes easily with a fork. Remove from oven and serve warm.
Enjoy!


There is no question chicken wings in the air fryer are amazing. I have to say these chicken tenders are a very close second with just the right amount of parmesan and garlic. Jim and I ate these in no time! Jim was checking the fridge for more chicken so I could make more! We are not huge ranch dressing fans over here but these would be great dipped in it. I think the pickiest of eaters would enjoy these and so much better than those fast food places!
INGREDIENTS
8 raw chicken tenders
1 egg
2 Tablespoons of water
Spritzer with olive oil
1 cup panko breadcrumbs, I used gluten free so Robby could enjoy them too!
pinch is salt
pinch of pepper
1 teaspoon garlic powder
1/2 teaspoon onion powder
1/4 cup grated Parmesan cheese
ranch dressing-optional
DIRECTIONS
Whisk the egg and water in a bowl big enough to dip the chicken tenders in. In a second bowl also big enough for the chicken, combine the breadcrumbs, salt, pepper
Enjoy!

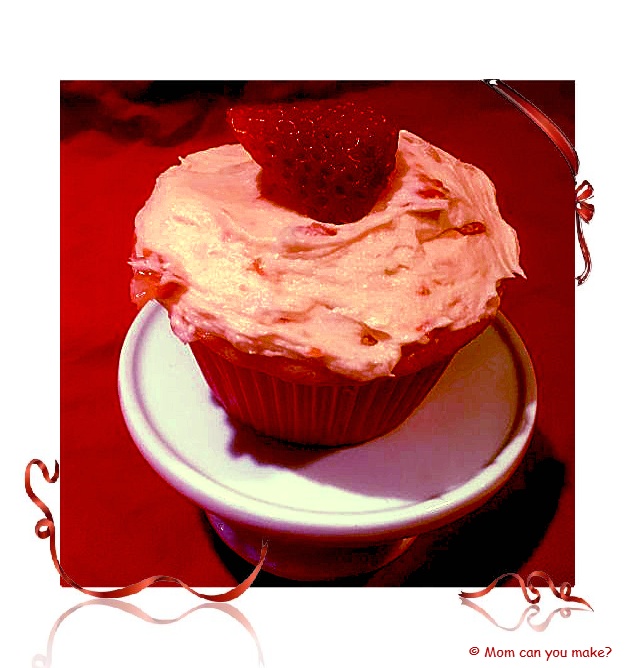
Valentine’s Day is just around the corner. If you want to bake up some sweet treats for the little ones or loved ones in your life this just might what you are looking for! If you have
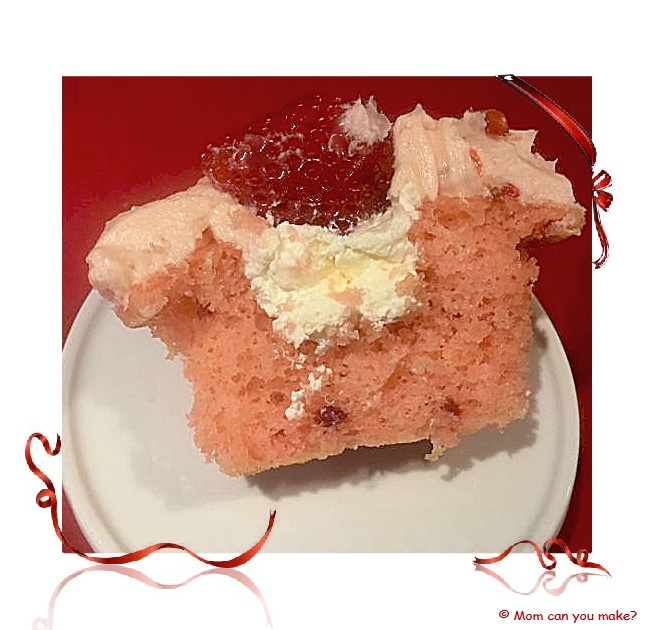
When I was deciding what to make for some Valentine’s Day fun I thought of all of Miss. B’s creations and decided on cupcakes. Keeping Miss. B in mind I did not want just any old cupcake so I decided on this strawberry cheesecake version. Are you impressed? This cupcake does take a little bit of time but I can promise you they are well worth it! I shared these cupcakes with our local fire department and one of the guys said he would cheat on his diet for one of these!
Ingredients for the Cupcakes
1 strawberry cake mix
1/2 cup oil
3 eggs
1 cup milk
For the Cheesecake Filling
1 3.4
1/2 cup milk
4 ounces cream cheese, at room temperature
1 1/4 cup Cool Whip, thawed
For the Strawberry Buttercream
1/2 cup butter flavored shortening
1/2 cup butter room temperature
1/4 teaspoon salt
1/2 teaspoon vanilla extract
1/2 teaspoon strawberry extract
1 Tablespoon water
3/4 cup diced strawberries
4 cups powdered sugar
Whole strawberries for garnish-optional
DIRECTIONS
Pre heat oven to 325 degrees. Line muffin tins with cupcake liners (18-20). Beat the cake mix, oil, milk
In a small bowl whisk the milk and pudding mix until creamy and thick. Beat the cream cheese until creamy, add the pudding mix to the cream cheese mixture until well combined. Fold in the whipped topping. Place this mixture into a large ziploc bag and
When the cupcakes have cooled you can use a cupcake corer or in my
For the frosting beat the shortening and butter until creamy. Add the salt, vanilla and strawberry extracts and beat again. Slowly add in the powdered sugar until it is combined.
Place the water and strawberries in a food processor or blender and purée. Pour the purée into the frosting and beat again until light and fluffy. To frost you can simply use a knife and frost the top of the cupcakes or you can use a piping bag and frosting tip to swirl the frosting on each of the cakes. Garnish each cupcake with a strawberry. You are ready to enjoy and share! It is best to store in the fridge.
Now that you have seen my creation I want to share with you some of Miss. B’s beautiful creations, take a look at these cupcakes! I should also mention Miss B also helps with the grocery shopping for all of the ingredients. This is where Elizabeth and Miss. B find much of their flavor inspiration. They think a lot about what is fresh and in season or maybe just something that interests Miss B at that moment! What a great way for them to spend the day. I’m looking forward to those days with my grandkids!




Aren’t these amazing? I should also mention that sweet Miss. B is only 6 years old! Yes, 6! I hope Miss B’s creations inspire you the way they did for me! A huge thank you to Miss. B, her grandmother Elizabeth, and Miss. B’s family for letting me share her amazing creations. I have no doubt Miss. B has an incredible cupcake recipe box! Keep cooking and baking Miss B, I’ll be watching for your creations!
Enjoy!


