Beef
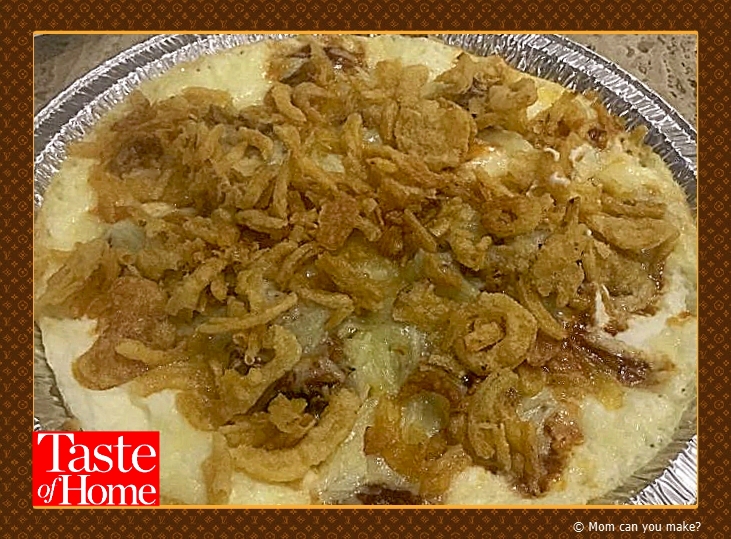
I’m always looking for new dishes that I can take on the road with us in the Motorhome. This Taste of Home recipe is a hearty snack after a busy day. I made this on the grill but the oven directions are just as easy. I have made this a couple of times. The second time I made it I added diced onions and tomatoes but left off the french fried onions. Both ways were very good, no complaints and the plate was cleaned. This can also be made with either BBQ beef or BBQ pork. I made it with pork as that’s what my grocery store had, so use whatever you can find.
INGREDIENTS
- 1 8oz. Package of cream cheese, softened (I used whipped cream cheese)
- 1 15 Oz. Package of refrigerated fully cooked barbecue shredded beef or pork
- 1 cup shredded cheddar cheese
- 1/2 cup chopped red onion
- 3/4 cup French fried onions
- 1/2 cup diced tomatoes
- tortilla chips
DIRECTIONS
Spread cream cheese onto the bottom of a greased 9-inch pie plate (I used a tin pie plate for the grill). Spread the cooked beef or pork over the cream cheese layer. Sprinkle with the cheddar cheese, diced red onion, and tomatoes.
OVEN DIRECTIONS
Preheat oven to 350 degrees. Bake until heated through, about 15 minutes. Sprinkle with French fried onions and bake an additional 5 minutes. Serve with tortilla chips.
GRILL DIRECTIONS
Turn your grill onto the lowest heat setting. For my grill, it is about 300 degrees. All grills will be slightly different so do check often as to not burn the bottom. Place the pie tin on the grill, close the grill lid and let heat through about 10-15 minutes. Add the French fried onions and continue to cook about 5 more minutes with the grill lid down. Serve with tortilla chips.
Enjoy!

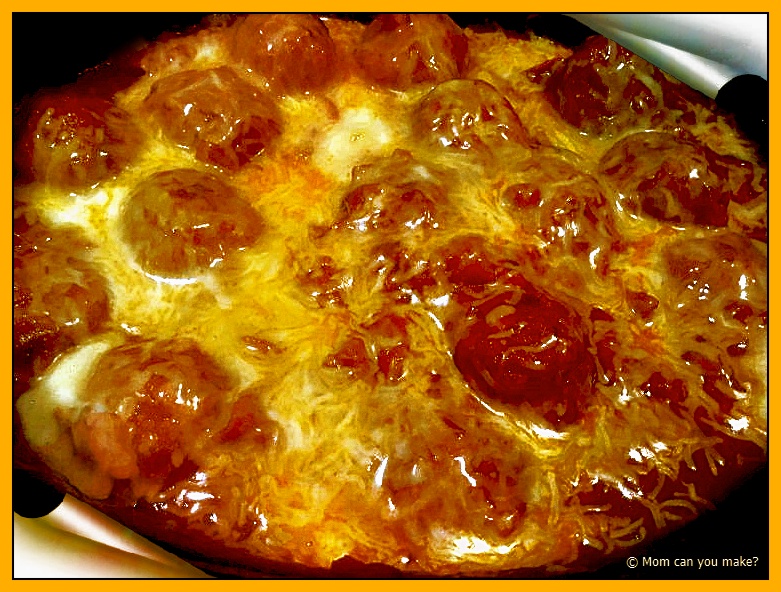
We have so many friends and family that need to be gluten free for health reasons. I am always looking for something that is not only easy and delicious but one that everyone can enjoy. This is one of those recipes. You can even add a little “topping bar” so everyone can make it their own. Extra Parmesan cheese, red pepper flakes, olives and anything else you like on your pizza! I took the time to caramelize some onions to add to the slow cooker but this is a recipe that almost anything goes. For those that can eat gluten, this would be great served on sub rolls!
INGREDIENTS
- 1 bag of frozen meatballs, I used gluten free
- 2 jars of your favorite pasta sauce
- 1 package of pepperoni, cut in half
- 4 ounces of cheddar cheese
- 4 ounces Monterey Jack cheese
- 1 small onion, thinly sliced
- 2 Tablespoons olive oil
- any additional toppings your family likes.
Spray the inside of the slow cooker with non-stick spray. Add the meatballs, pizza sauce and pepperoni into your slow cooker. Mix well. If you are going to make the caramelized onions, add the olive oil into a medium pan and add thinly sliced onions. Let the onions cook until golden brown, stirring often. Once golden brown,
Enjoy!

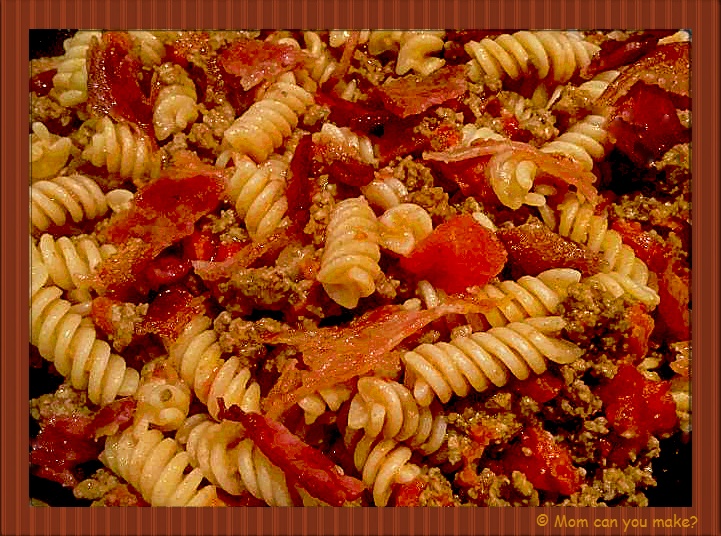
I made this dish for Robby so I used a gluten free pasta but this is great using regular pasta as well. This dish has all the components of a bacon cheeseburger without the bun. Easy to make and delicious. We can’t get to our grill with the snow and really cold weather, so this was a great way to get those flavors and staying warm inside! Nice and hearty to fill you up, Add a salad and dinner is done!
INGREDIENTS
- 8 ounces gluten-free pasta or any pasta you like.
- 4 slices of bacon
- 1 pound ground beef
- 1 can 14.5 ounce diced tomatoes
- 1/4 cup ketchup
- 2 Tablespoons yellow prepared mustard
- 1 teaspoon chili powder
- pinch of salt
- pinch of pepper
- 1 cup shredded Monterey Jack cheese
Prepare macaroni according to package directions for al Dante. Drain into a colander and set aside. While macaroni is cooking, sauté the bacon in a large skillet over medium heat until crispy. Add the beef to the skillet, brown and crumble beef until no longer pink. Add tomatoes, ketchup
Enjoy!

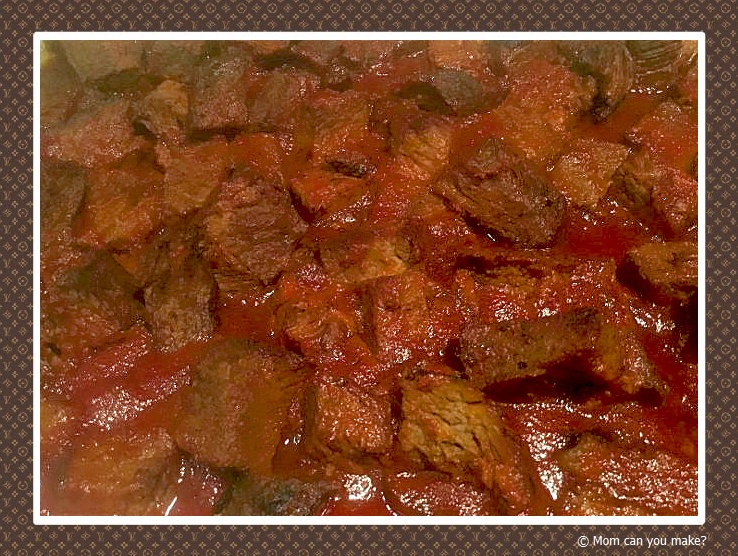
New England is not known for its barbecue although we are starting to see some great places opening up. I came across this recipe by Trisha Yearwood on the Food N
I’ll be honest I was a bit skeptical but decided to give it a try for Super Bowl Sunday and I am so glad I did. This was so tender, with a little bit of a kick from the cayenne pepper, but not overpowering. We really enjoyed this dish not only the day I made it but the leftovers were just as delicious as the first day!
INGREDIENTS FOR THE BRISKET
1 1/2 Tablespoons kosher salt
1/2 Tablespoon fresh ground black pepper
2 teaspoons smoked paprika
1 teaspoon cayenne pepper
1 teaspoon ground cumin
1 teaspoon granulated garlic
1 teaspoon dry mustard
5 pounds brisket, fat cap trimmed
BBQ SAUCE
1 six ounce can of tomato paste
1/4 cup packed dark brown sugar
2 Tablespoons apple cider vinegar
1/2 teaspoon kosher salt
1/4 teaspoon liquid smoke
1/4 teaspoon cayenne pepper
1/4 teaspoon granulated garlic
1/4 teaspoon dry mustard powder
DIRECTIONS
For the brisket, combine the salt, pepper, paprika, cayenne, cumin, granulated garlic and dry mustard in a small bowl. Sprinkle the on all sides with the spice rub. Place the brisket in a slow cooker and cover with the lid. Set the slow cooker on high and cook until tender, about 6 hours.
Remove the brisket from the slow cooker and set aside until cool enough to handle. Pour the liquid from the slow cooker into a fat separator, discard the fat.
For the BBQ sauce, pour the cooking liquid into a stockpot and place over medium heat. Stir in the tomato paste, brown sugar, vinegar, salt, liquid smoke, cayenne, granulated garlic and dry mustard. Bring to a simmer, then reduce the heat to medium-low. Simmer stirring occasionally until thickened. At least 20 minutes.
Slice the brisket into 1 inch pieces, remove and discard any large pieces of fat. Place the cut brisket pieces into a 9×13 inch pan and pour the sauce over the meat.
Turn the broiler on to high, broil until crispy and just slightly charred on the edges. About 5 minutes. Serve warm with bread or rolls.
Enjoy!

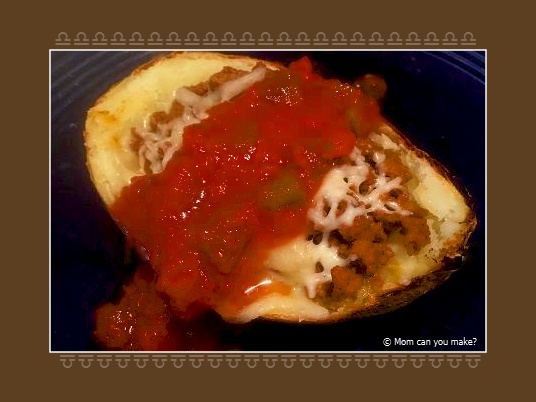
I could not decide what to make for dinner one night and also had some russet potatoes that needed to be cooked. I decided on taco stuffed potatoes. This is not a quick dish as it does take some time to bake the potatoes but the end result was really good and hearty on a cold winter night. I topped this with cheese and salsa and would have also added sour cream but I was out of it!
This would be a great option if you are having a few people over on game day!
INGREDIENTS
1 lb. ground beef
1 package taco seasoning, I used low sodium
4 russet potatoes
Olive oil
Pinch of salt
Pinch of pepper
1 cup shredded cheddar cheese
Your favorite salsa
Sour cream
DIRECTIONS
Pre-heat oven to 425 degrees.
Start with the potatoes, scrub them and dry them then rub each of the with olive oil, salt
During the last 20 minutes of cook time cook your ground beef in a medium sauce pan over medium heat. Crumble as it cooks. Add the package of taco seasoning following the instructions on the package.
When the potatoes are done remove them from the oven and slice them each in half lengthwise, remove some of the insides of the potato without breaking through the skin. ( I used the removed portion of the potatoes to make a small portion of mashed potatoes for another time). Fill the inside of the potato with your taco meat, top with cheese, salsa and sour cream.
Enjoy!


