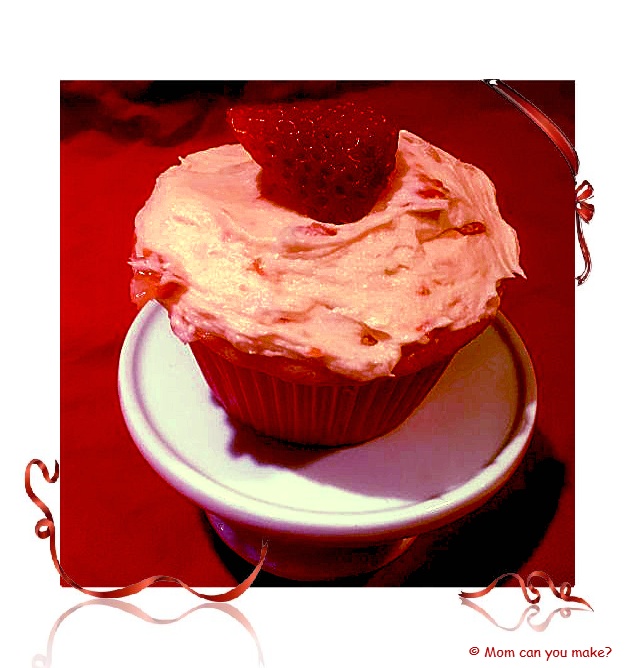
Valentine’s Day is just around the corner. If you want to bake up some sweet treats for the little ones or loved ones in your life this just might what you are looking for! If you have
When I was deciding what to make for some Valentine’s Day fun I thought of all of Miss. B’s creations and decided on cupcakes. Keeping Miss. B in mind I did not want just any old cupcake so I decided on this strawberry cheesecake version. Are you impressed? This cupcake does take a little bit of time but I can promise you they are well worth it! I shared these cupcakes with our local fire department and one of the guys said he would cheat on his diet for one of these!
Ingredients for the Cupcakes
1 strawberry cake mix
1/2 cup oil
3 eggs
1 cup milk
For the Cheesecake Filling
1 3.4
1/2 cup milk
4 ounces cream cheese, at room temperature
1 1/4 cup Cool Whip, thawed
For the Strawberry Buttercream
1/2 cup butter flavored shortening
1/2 cup butter room temperature
1/4 teaspoon salt
1/2 teaspoon vanilla extract
1/2 teaspoon strawberry extract
1 Tablespoon water
3/4 cup diced strawberries
4 cups powdered sugar
Whole strawberries for garnish-optional
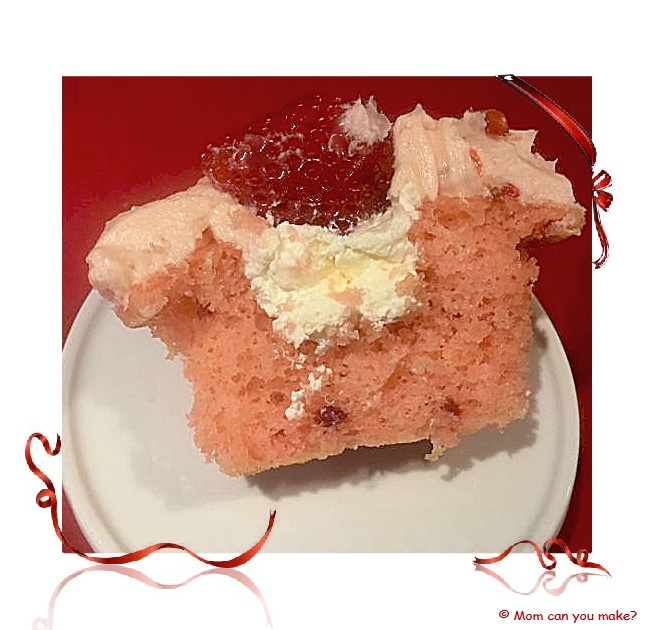
DIRECTIONS
Pre heat oven to 325 degrees. Line muffin tins with cupcake liners (18-20). Beat the cake mix, oil, milk
In a small bowl whisk the milk and pudding mix until creamy and thick. Beat the cream cheese until creamy, add the pudding mix to the cream cheese mixture until well combined. Fold in the whipped topping. Place this mixture into a large ziploc bag and
When the cupcakes have cooled you can use a cupcake corer or in my
For the frosting beat the shortening and butter until creamy. Add the salt, vanilla and strawberry extracts and beat again. Slowly add in the powdered sugar until it is combined.
Place the water and strawberries in a food processor or blender and purée. Pour the purée into the frosting and beat again until light and fluffy. To frost you can simply use a knife and frost the top of the cupcakes or you can use a piping bag and frosting tip to swirl the frosting on each of the cakes. Garnish each cupcake with a strawberry. You are ready to enjoy and share! It is best to store in the fridge.
Now that you have seen my creation I want to share with you some of Miss. B’s beautiful creations, take a look at these cupcakes! I should also mention Miss B also helps with the grocery shopping for all of the ingredients. This is where Elizabeth and Miss. B find much of their flavor inspiration. They think a lot about what is fresh and in season or maybe just something that interests Miss B at that moment! What a great way for them to spend the day. I’m looking forward to those days with my grandkids!
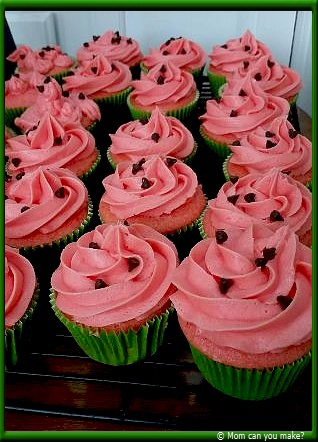



Aren’t these amazing? I should also mention that sweet Miss. B is only 6 years old! Yes, 6! I hope Miss B’s creations inspire you the way they did for me! A huge thank you to Miss. B, her grandmother Elizabeth, and Miss. B’s family for letting me share her amazing creations. I have no doubt Miss. B has an incredible cupcake recipe box! Keep cooking and baking Miss B, I’ll be watching for your creations!
Enjoy!

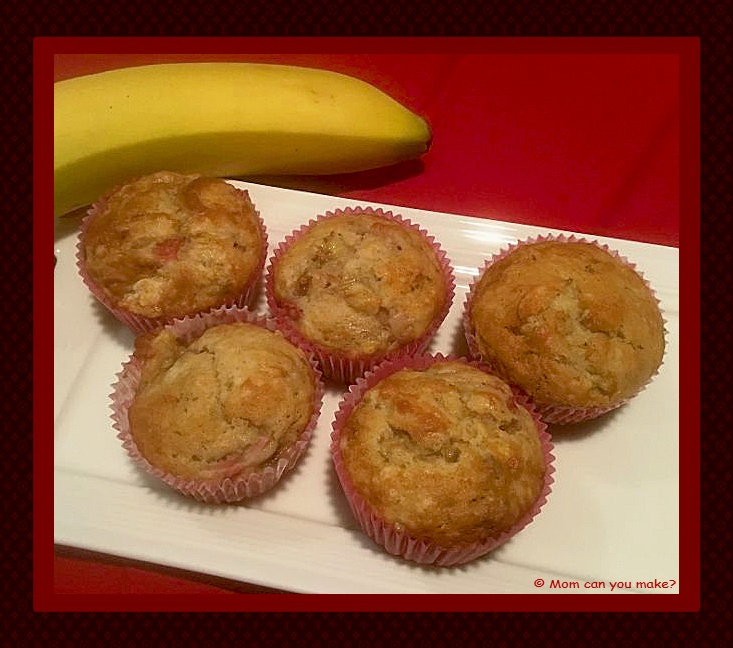
We love fresh fruit and always have some on hand but this week I found myself with both bananas and strawberries that needed to be used. It did not take me long to find a muffin recipe on Pinterest for these muffins. This recipe comes from www.julisasalbum.com
These muffins come together in no time and taste delicious. I could barely get a picture as Jim had two in his hands as soon as they came out of the oven! These were gone with in one day of me making them so I know I’ll be making them again! I love when I find a recipe that I have all of the ingredients for!
INGREDIENTS
2 ripe bananas, mashed
1/3 cup Greek yogurt or sour cream
1/3 cup butter, melted
3/4 cup sugar
1 egg
1 teaspoon vanilla extract
1 teaspoon baking soda
pinch of salt
1 1/2 cups all purpose flour
1 cup of strawberries, chopped
Directions
Pre heat oven to 350 degrees. In a large bowl mix mashed bananas, yogurt or sour cream and melted butter, mix well. Add in the sugar, egg, and vanilla. Sprinkle the baking soda in, add the salt and mix again. Add the flour and mix to combine. T
Grease a regular 12 cup muffin pan with
Enjoy!

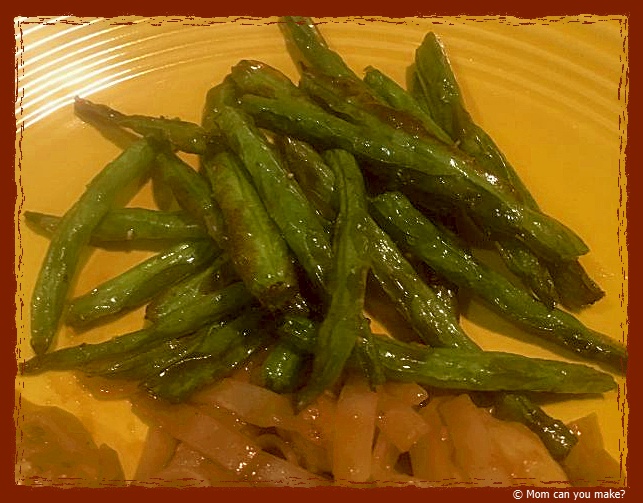
One of the best things about the air fryer is how it cooks fresh vegetables. The veggies are done faster than it would take for my oven to heat up, not to mention in the summer months there is no heating your house up. This really is not much of a recipe as it’s just a couple of ingredients. It has one additional ingredient that I like to use when I make green beans. It is a reduced balsamic syrup. You can buy that already reduced for you or just make your own by reducing your balsamic vinegar by adding balsamic vinegar to a pan over medium heat and reduce it to make it a thick syrup.
INGREDIENTS
1 pound green beans
1/4 cup olive oil
salt
pepper
Reduced balsamic vinegar – optional
DIRECTIONS
Place the green beans in a medium bowl, add the olive oil, pinch of salt and a pinch of pepper and mix to combine making sure the beans are covered in the oil.
Place the greeen beans in your air fryer and fry at 400 degrees for 7-8 minutes. Remove from fryer drizzle with balsamic if desired and serve warm.
Enjoy!

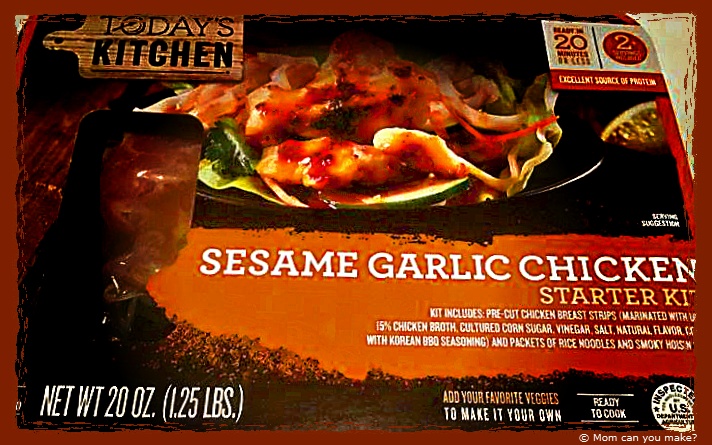
The meal starter kits have been very popular at my local Hannaford grocery store, so when Jim and I were talking about them we decided to
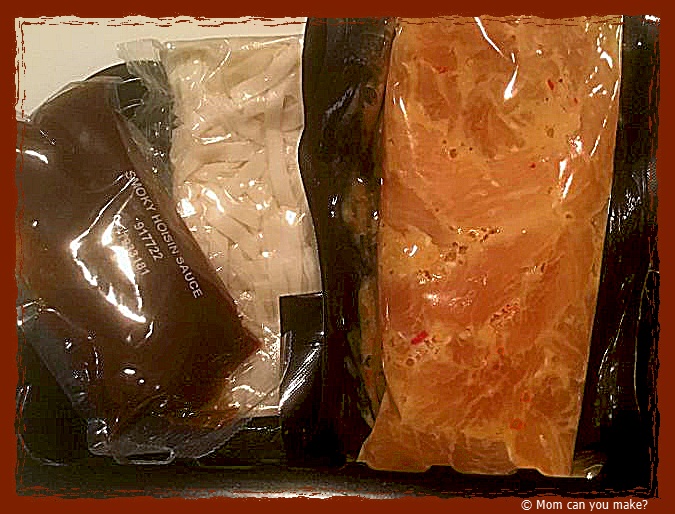
When you open up the package, the first thing you see if how organized everything is. All of the ingredients are sealed and labeled so there is no confusion! Good start.

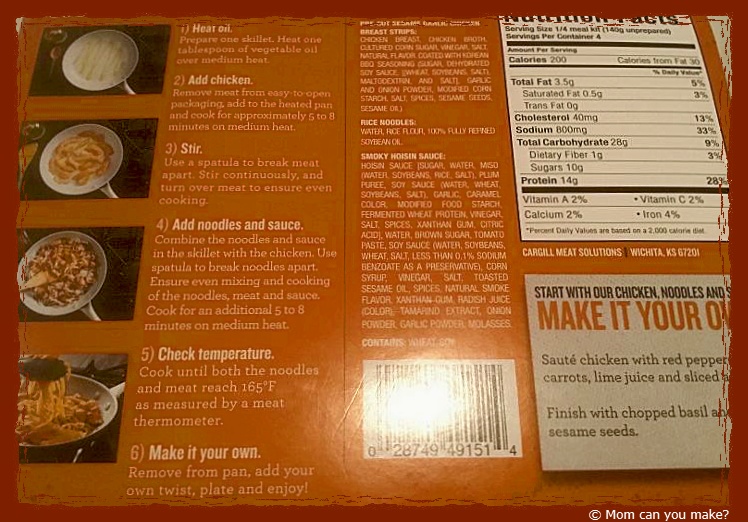
The directions are very clear with step by step instructions including additional ideas on how to make it your own. I found the cooking time to be very accurate.
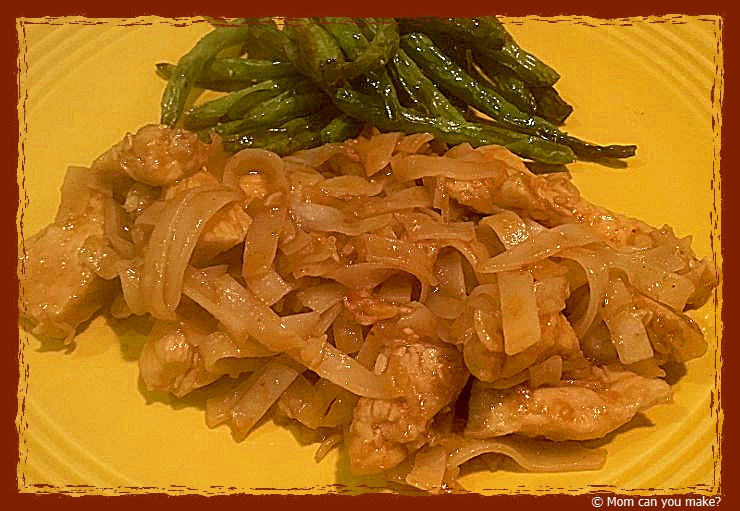
This picture really does not do the plate justice. This dish was delicious! I was pleasantly surprised. The chicken was incredibly tender with such great flavor. The sauce added even more flavor to the noodles and chicken but not overwhelming. I served this with a side of air fried green beans. I would make this dish any day of the week, it did not disappoint! The price for this Today’s Kitchen meal starter was $10.00 at my grocery store but the one slight downside is that the package says it serves 2+ people. I can say we did not have any left over, not a single bite. Jim and I were both incredibly impressed with our dinner and will certainly not hesitate to purchase it again for a busy night!
Enjoy!

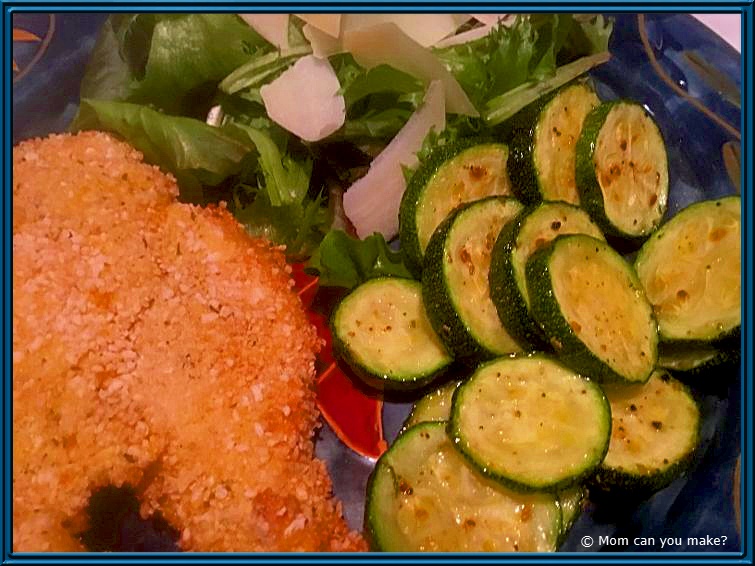
I have really been enjoying making fresh vegetables in the air fryer. It’s such a simple and delicious side dish to your dinner and done faster than my oven preheats! You can add any seasoning you like but I used an Italian seasoning blend giving it that pop of flavor I think zucchini needs. This dinner was just for Jim and so I only used 2 small zucchini.
INGREDIENTS
2 small zucchini sliced into 1/2 inch rounds
Drizzle of olive oil
1 teaspoon Italian seasoning
DIRECTIONS
Place your zucchini rounds in a medium bowl, drizzle with olive oil, enough to coat each of the rounds. Add the seasoning and mix to combine.
Air fry at 400 degrees for 7-8 minutes. Remove from fryer and serve warm.
Enjoy!


