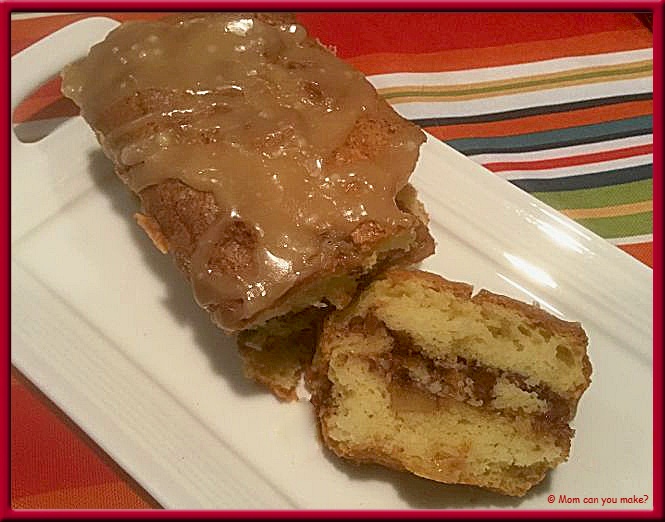
I have never met an apple bread that I did not enjoy! I love the apple fritter bread I have on the blog but this one was just a little different from that one. I thought I would give it a try. This recipe did not disappoint in fact it was gone within 24 hours without sharing! Yikes! I love the apples and cinnamon combination and of
INGREDIENTS
- 1/2 cup plus 1 Tablespoon brown sugar, divided
- 1 teaspoon cinnamon
- 1/2 teaspoon nutmeg
- 2 apples, peeled, cored and diced. I used Honey Crisp apples
- 1 Tablespoon plus 2/3 cup granulated sugar, divided
- 1 teaspoon apple pie spice
- 1/2 cup walnuts , chopped
- 8 Tablespoons butter, softened
- 2 eggs
- 1 1.2 teaspoons vanilla extract
- 1 1/2 cups
all purpose flour - 2 teaspoons baking powder
- 1/4 teaspoon baking soda
- 1/2 cup sour cream
GLAZE
- 1/4 cup brown sugar
- 1 Tablespoon butter
- 2 Tablespoons heavy cream
- 2 Tablespoons confectioners sugar
Preheat oven to 350 degrees. Using a
In a medium bowl, toss the apples with 1 Tablespoon of brown sugar, 1 Tablespoon sugar
In the bowl of a stand mixer with a paddle attachment, cream butter then add 2/3 cup granulated sugar and beat until light and fluffy, about 1 minute. With the mixer, add one egg at a time and mix. Scape the bowl down and mix for one more minute on medium until slightly pale in color. Add vanilla and mix just to combine.
In a small bowl. mix flour with baking powder and baking soda. With the mixer running on low, alternate adding the flour mixture and the sour cream. Mix until just combined.
Pour half of the batter into your prepared pan and spread covering the bottom of the pan. Add half of the apple mixture and pat down slightly into the batter. Sprinkle with half of the sugar mixture. Repeat with the remaining batter, apples and sugar mixture.
Bake on the center rack of the oven for 50-60 minutes or until a toothpick inserted into the center of the bread comes out clean. While cake is baking prepare the glaze by combining brown sugar, butter, and cream in a small saucepan. Heat to a boil and simmer on medium heat for two minutes without stirring. Remove from the heat and sift in the powdered sugar. Let sit at room temperature for ten minutes. Once the cake is out of the oven, cool in the pan on a baking rack for 15 minutes. Loosen the sides and flip out of the pan onto the cooling rack. Place the rack over a sheet pan and drizzle glaze over the top and let it melt into the warm cake. Serve warm or at room temperature.
Enjoy!

This recipe come from www.familyfeast.com
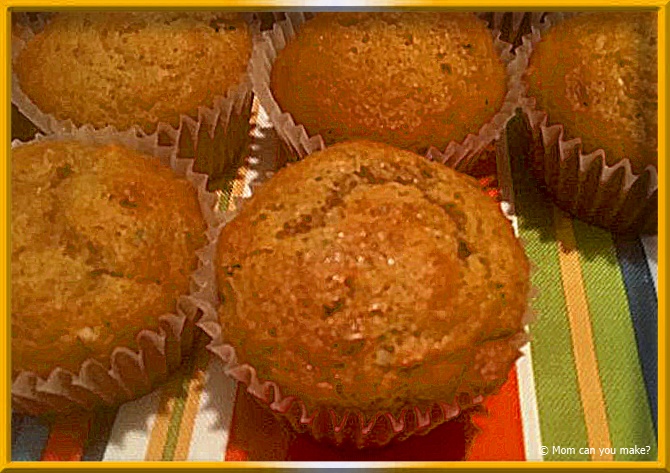
I love a muffin in the morning, slightly warmed with just a small pat of butter. That’s a nice way to start the day! One of my favorite muffins is the Morning Glory Muffin. It’s packed with so many great flavors and a bit healthier than many of the muffins out there. This is hands down my most favorite Morning Glory Muffin that I have made. I no longer have to look for another recipe, this is it! I did change it just the slightest by lessing the amount of carrots and coconut to 1/4 cup of each and added 1/2 cup of golden raisins. I came across this recipe on Pinterest from www.laurenslatest.com
INGREDIENTS
- 3/4 cup granulated sugar
- 2 1/4 cups all-purpose flour
- 1 1/2 teaspoons cinnamon
- 2 teaspoons baking soda
- 1/2 teaspoon salt
- 1/2 cup shredded sweetened coconut
- 1/2 cup chopped walnuts or pecans
- 1 cup grated zucchini, wrung out and dry
- 2 cups grated carrots
- 1/2 cup unsweetened apple sauce
- 1/2 cup maple syrup, the real stuff
- 3 large eggs
- 1/2 cup vegetable oil
- 1 teaspoon vanilla
DIRECTIONS
Preheat oven to 350 degrees. Line muffin tins with paper liners and set aside. In a large bowl whisk sugar, flour, cinnamon, baking soda, salt, coconut and walnuts until combined. Add zucchini and carrots and stir. Create a well in the center of the dry ingredients and add in the wet ingredients. Stir the wet ingredients together and then start to incorporate the dry into the wet using a rubber spatula until just combined. Scoop into prepared tins and bake 25-35 minutes or until a toothpick inserted in the center comes out clean. Cool for 7 minutes in the pan then transfer to a cooling rack.
Store in an airtight container for up to 3 days or freeze for up to 2 months.
Enjoy!

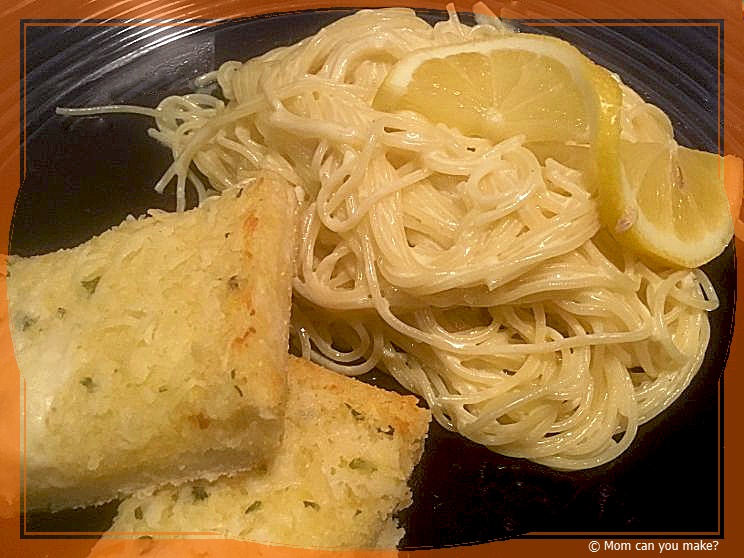
This dish reminds me of spring all in one bowl. It’s winter and cold, and I’ll take anything that reminds me of warmer weather! Although we really enjoyed this dish, we all agreed that adding some roasted shrimp to the pasta would complete this dish. I know I’ll be making this again with the shrimp! I served this with garlic bread and a salad and dinner
INGREDIENTS
- 3/4 pound of angel hair pasta cooked one minute less than the directions state.
- 4 Tablespoons olive oil
- 4 cloves of garlic, chopped
- 1 pinch of red pepper flakes
- 2 lemons, juiced 1/3 cup
- 1 cup vegetable broth
- 1 1/2 cups heavy cream
- 1 cup Parmesan cheese, shredded
- pinch of salt
- pinch of peoper
DIRECTIONS
In a large skillet on low heat, add the oil, garlic and red pepper flakes. Heat for a couple of minutes, add the lemon juice, vegetable broth
Remove from heat and season with salt and pepper. Add the cheese and stir to combine and
Enjoy!

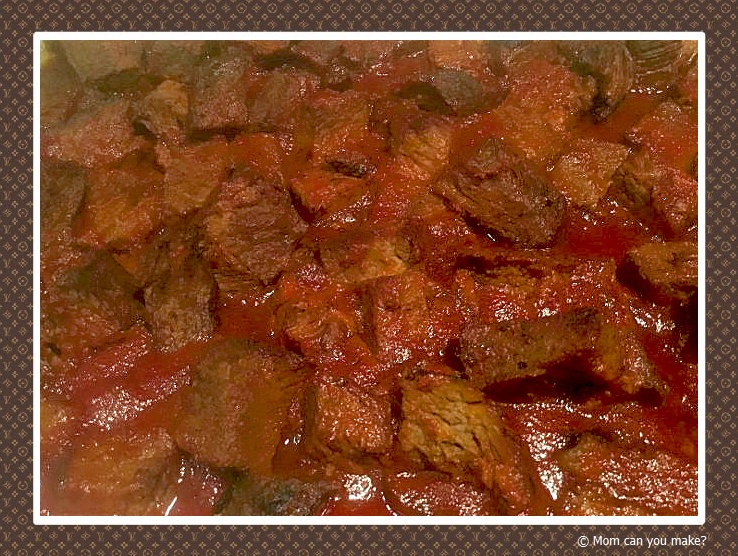
New England is not known for its barbecue although we are starting to see some great places opening up. I came across this recipe by Trisha Yearwood on the Food N
I’ll be honest I was a bit skeptical but decided to give it a try for Super Bowl Sunday and I am so glad I did. This was so tender, with a little bit of a kick from the cayenne pepper, but not overpowering. We really enjoyed this dish not only the day I made it but the leftovers were just as delicious as the first day!
INGREDIENTS FOR THE BRISKET
1 1/2 Tablespoons kosher salt
1/2 Tablespoon fresh ground black pepper
2 teaspoons smoked paprika
1 teaspoon cayenne pepper
1 teaspoon ground cumin
1 teaspoon granulated garlic
1 teaspoon dry mustard
5 pounds brisket, fat cap trimmed
BBQ SAUCE
1 six ounce can of tomato paste
1/4 cup packed dark brown sugar
2 Tablespoons apple cider vinegar
1/2 teaspoon kosher salt
1/4 teaspoon liquid smoke
1/4 teaspoon cayenne pepper
1/4 teaspoon granulated garlic
1/4 teaspoon dry mustard powder
DIRECTIONS
For the brisket, combine the salt, pepper, paprika, cayenne, cumin, granulated garlic and dry mustard in a small bowl. Sprinkle the on all sides with the spice rub. Place the brisket in a slow cooker and cover with the lid. Set the slow cooker on high and cook until tender, about 6 hours.
Remove the brisket from the slow cooker and set aside until cool enough to handle. Pour the liquid from the slow cooker into a fat separator, discard the fat.
For the BBQ sauce, pour the cooking liquid into a stockpot and place over medium heat. Stir in the tomato paste, brown sugar, vinegar, salt, liquid smoke, cayenne, granulated garlic and dry mustard. Bring to a simmer, then reduce the heat to medium-low. Simmer stirring occasionally until thickened. At least 20 minutes.
Slice the brisket into 1 inch pieces, remove and discard any large pieces of fat. Place the cut brisket pieces into a 9×13 inch pan and pour the sauce over the meat.
Turn the broiler on to high, broil until crispy and just slightly charred on the edges. About 5 minutes. Serve warm with bread or rolls.
Enjoy!

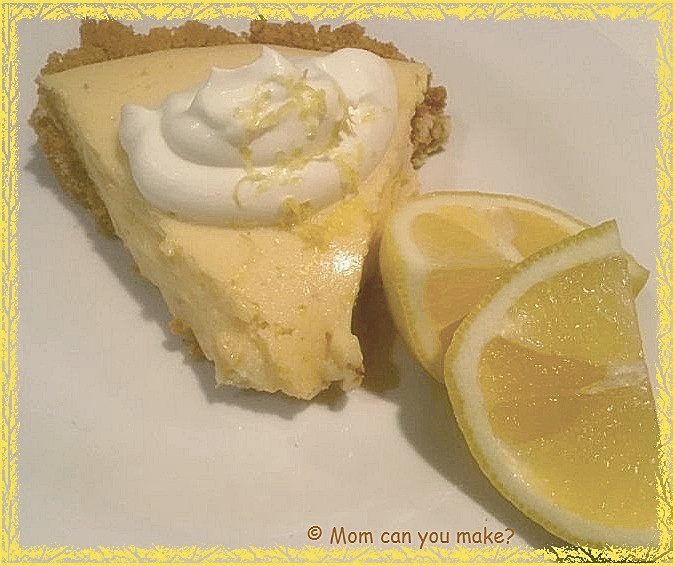
I made this pie for Jim’s Birthday a few weeks ago and boy was it delicious! Let’s face it, a tart lemon pie brings back the feeling of summer on a cold winter day. That will keeps those winter blues away! I found this recipe on Pinterest through another blogger that I enjoy. www.thegirlwhoateeverything.com
The only thing that I did just a little different was to add lemon zest into the filling for that extra bit of tartness. You could make this even easier by using a store bought crust but you may have extra filling. These would be cute in individual tart size too!
INGREDIENTS
- 1 1/2 cups crushed graham crackers
- 6 Tablespoons butter, melted
- 1/3 cup sugar
- 2 (14 ounce) cans sweetened condensed milk
- 3 egg yolks
- 2/3 cup lemon juice
- zest of 2 lemons
- dash of salt
WHIPPED CREAM
(can use store bought if desired)
- 1 cup heavy cream
- 1/3 cup powdered sugar
- 1 teaspoon vanilla extract
DIRECTIONS
Preheat the oven to 350 degrees. For the crust, spray a pie dish with
For the pie filling, using a mixer, mix the condensed milk, egg yolks, lemon zest, lemon juice and salt. Beat on medium speed for 4-5 minutes. Pour into pie crust and bake for 10 minutes at 350 degrees. Little bubbles will start to form. Cover the pie if it starts to brown too much towards the end.
Chill in the refrigerator for at least an hour before serving.
For the whipped cream, mix the cream, sugar, and vanilla. Whip until fluffy. Add to cooled pie and serve.
Enjoy!


