One pot
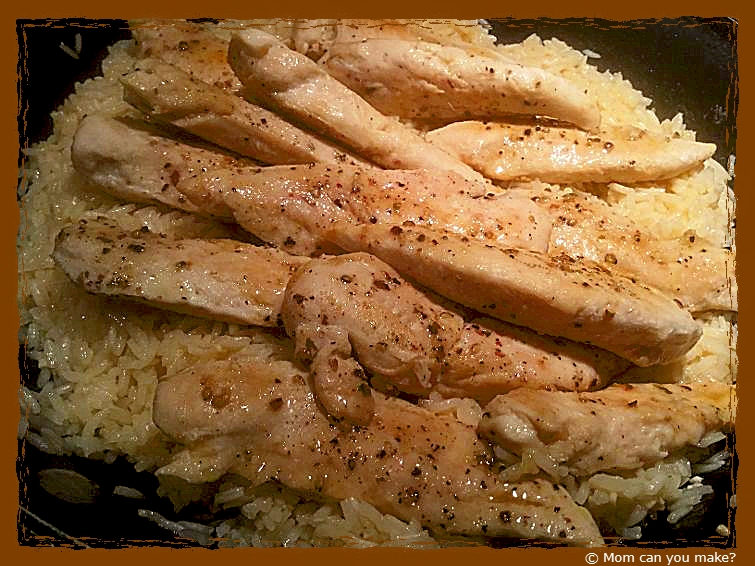
The picture does not do this dinner justice. This was delicious and with it being gluten-free, Robby could enjoy it as well. I loved the flavor in the rice, garlic, butter, wine, and cheese. Who would not love that combination! This is going to be in our dinner rotation from now on. It does take a little bit of time, but it’s time well spent.
INGREDIENTS
- 1 lb. chicken tenders
- salt and pepper
- 1/2 teaspoon garlic powder
- 2 Tablespoons olive oil
- 1 stick of butter- I used Earth’s Balance
- 2 Tablespoons minced garlic
- 1/4 teaspoon red pepper flakes
- 1 1/2 teaspoons salt, divided
- 1/2 cup dry white wine
- 1 1/2 cups dry white rice
- 3 cups chicken broth
- 1/2 cup grated Parmesan
DIRECTIONS
Season chicken with salt, pepper and garlic powder. Heat olive oil over medium heat in a large non-stick skillet. Sauté chicken tenderloins until nicely browned and just cooked through. Remove chicken from the skillet. Cover chicken and set aside.
Add butter, garlic, pepper flakes and 1/2 teaspoon of salt into the skillet and sauté garlic for three minutes, don’t let the garlic get too brown.
Increase the skillet temperature to medium-high heat then add the white wine. Stir vigorously with a wooden spoon to emulsify the wine into the butter. Cook and stir for about 5 minutes or until mixture is reduced by half.
Add rice to the skillet then stir and cook for 3-4 minutes. It will absorb the butter mixture. Add the chicken broth and remaining 1 teaspoon of salt. Bring the mixture to a low boil then reduce heat to medium-low, cover the skillet and cook for 20 minutes or until rice is tender. Stir once or twice in the first 15 minutes.
Sprinkle the Parmesan over the rice and arrange the chicken tenders into the pan. Cover for 5 minutes to heat the chicken through. Remove from heat and serve warm.
Enjoy!

I found this recipe at www.southyourmouth.com

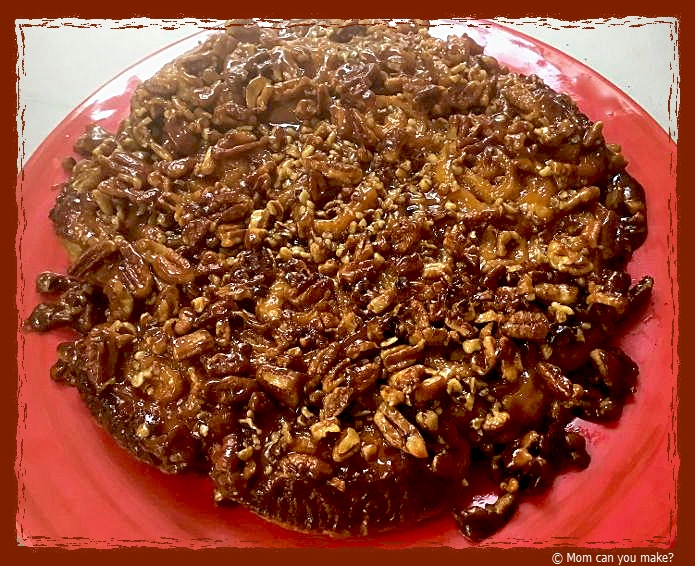
This is another recipe I adapted for the grill but no matter if you grill or bake these you will have happy people all around you. We liked these so much I made them 2 mornings in a row for friends and family we were camping with. I had an empty plate both mornings. I am most definitely keeping this recipe close by as it’s so simple and just the perfect amount of sweetness for any sweet tooth!
INGREDIENTS
- 3/4 cup chopped pecans
- 1/2 cup salted caramel of plain caramel sauce. Use a good quality caramel, not a thin caramel
- 1 8-ounce can of refrigerated crescent rolls
- 1/4 cup brown sugar
- 1/4 teaspoon ground cinnamon
- pinch of sea salt-optional
DIRECTIONS
Grease a 9.5-inch pie plate (for the grill I used 2 tin pie plates.) Scatter the pecans in a single layer in the bottom of the pie plate. Pour the caramel sauce evenly over the pecans. Set aside.
On a lightly floured surface roll out the crescent dough into an approximately 9×13 rectangle. Be sure to press the seams together as you want this in one sheet. Sprinkle the brown sugar and cinnamon over the dough leaving about a 1/2 inch border on the outer edges of the dough.
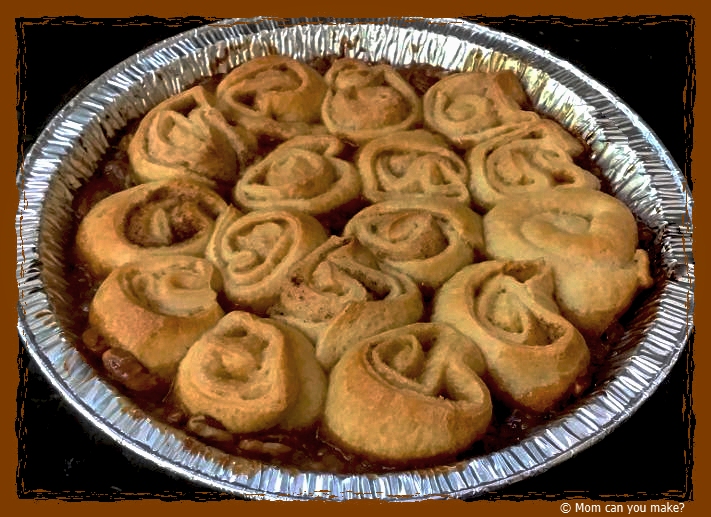
Starting on the long side of the dough, tightly roll the dough into a log. Cut the dough into 10-12 small rolls using a sharp knife.
Place the rolls cut side up on the top of the caramel in the pie dish.
FOR THE OVEN
Preheat the oven to 375 degrees. Bake for 16-18 minutes or until the buns are lightly golden brown and the caramel sauce is bubbly. Remove from the oven and place a large plate over the top of the pie dish, then quickly flip the pie dish over to invert the buns onto the plate. Spoon any leftover pecans or caramel left in the pie plate over your rolls. If desired add a sprinkle of sea salt. Serve warm.
FOR THE GRILL
This is very important..I used TWO pie plates, this kept the pecans from getting too browned as well as keeping the caramel from burning.
Turn your grill to the lowest setting. Place the pie dish on your grill and cover the hood of your grill. My rolls took between 25-30 minutes. I did check them often to avoid burning. Grills will cook slightly different so check often. Once the rolls are a golden brown and the caramel is bubbly remove from the grill and place a large plate over the top of the pie plate and quickly flip the pie plate over inverting the rolls onto the plate. If you have any caramel or pecans sticking to your pie plate spoon that over your rolls. If desired add a sprinkle of sea salt. Serve warm.
Enjoy!
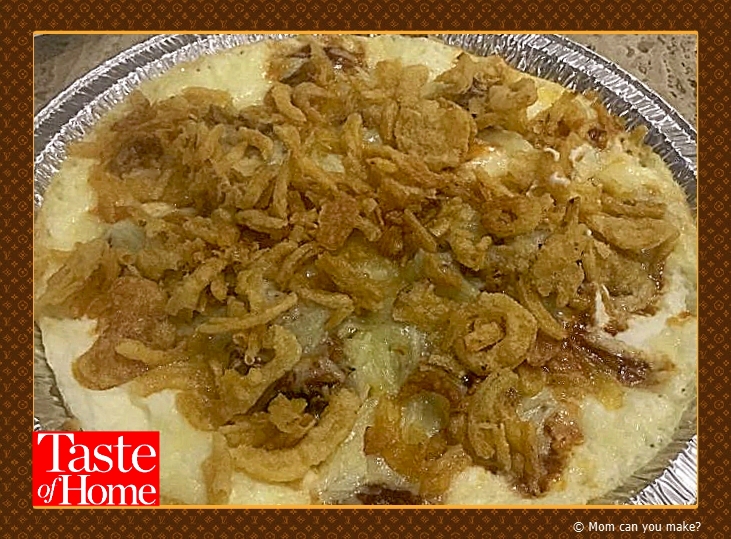
I’m always looking for new dishes that I can take on the road with us in the Motorhome. This Taste of Home recipe is a hearty snack after a busy day. I made this on the grill but the oven directions are just as easy. I have made this a couple of times. The second time I made it I added diced onions and tomatoes but left off the french fried onions. Both ways were very good, no complaints and the plate was cleaned. This can also be made with either BBQ beef or BBQ pork. I made it with pork as that’s what my grocery store had, so use whatever you can find.
INGREDIENTS
- 1 8oz. Package of cream cheese, softened (I used whipped cream cheese)
- 1 15 Oz. Package of refrigerated fully cooked barbecue shredded beef or pork
- 1 cup shredded cheddar cheese
- 1/2 cup chopped red onion
- 3/4 cup French fried onions
- 1/2 cup diced tomatoes
- tortilla chips
DIRECTIONS
Spread cream cheese onto the bottom of a greased 9-inch pie plate (I used a tin pie plate for the grill). Spread the cooked beef or pork over the cream cheese layer. Sprinkle with the cheddar cheese, diced red onion, and tomatoes.
OVEN DIRECTIONS
Preheat oven to 350 degrees. Bake until heated through, about 15 minutes. Sprinkle with French fried onions and bake an additional 5 minutes. Serve with tortilla chips.
GRILL DIRECTIONS
Turn your grill onto the lowest heat setting. For my grill, it is about 300 degrees. All grills will be slightly different so do check often as to not burn the bottom. Place the pie tin on the grill, close the grill lid and let heat through about 10-15 minutes. Add the French fried onions and continue to cook about 5 more minutes with the grill lid down. Serve with tortilla chips.
Enjoy!
It’s summer and I’m back! Sometimes schedules just get a little crazy and now with all the warm weather, it’s been great getting out and enjoying it. I will be in and out for the summer but I have lots of great summer and grilling recipes coming for you! This recipe has been floating around on Facebook and Pinterest for a while now and really wanted to see what the hype was about.
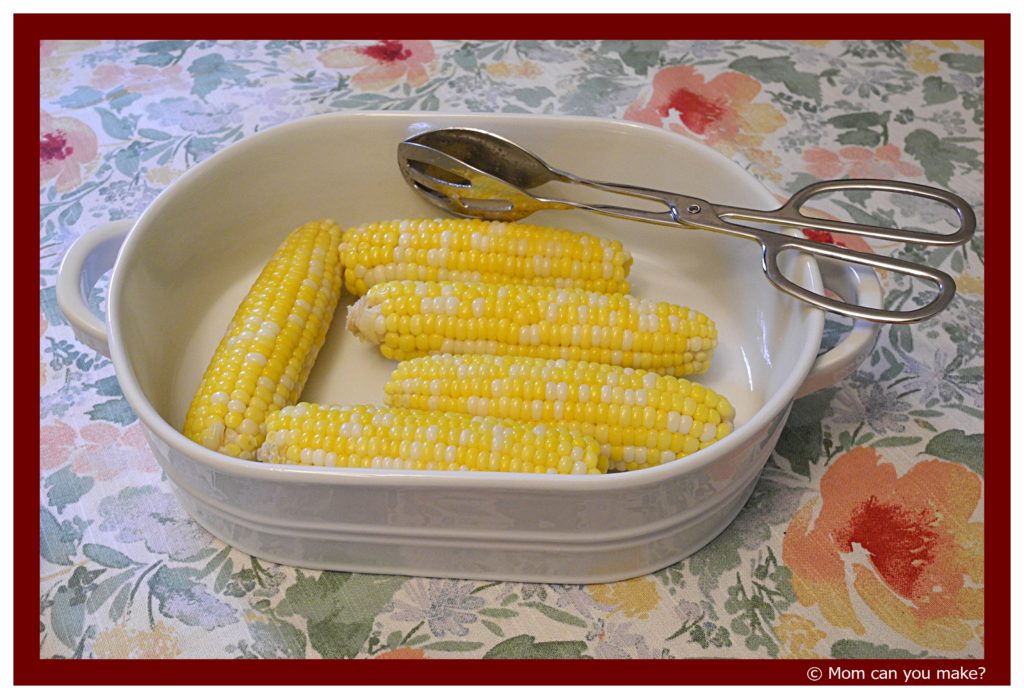
I made this as soon as I found corn on the cob at my grocery store and made it for family and friends. As soon as my Dad took a bite of the corn he asked me where I got it as it is delicious. Needless to say, we all took a bite of our corn and all agreed it was sweet, tender and delicious. Great way to start summer
INGREDIENTS
- 6-8 ears of corn, husk, and silk removed
- 1 cup of milk
- 1 stick of butter, unsalted
- 1/4 cup of sugar
- water
- salt
DIRECTIONS
Fill a large pot with water, bring the water to a boil and add a pinch of salt. Add the butter and the milk and reduce heat to a simmer. Add the cleaned corn and simmer for 8-10 minutes or until tender. Remove from water and serve with additional butter and salt if desired.
Enjoy!
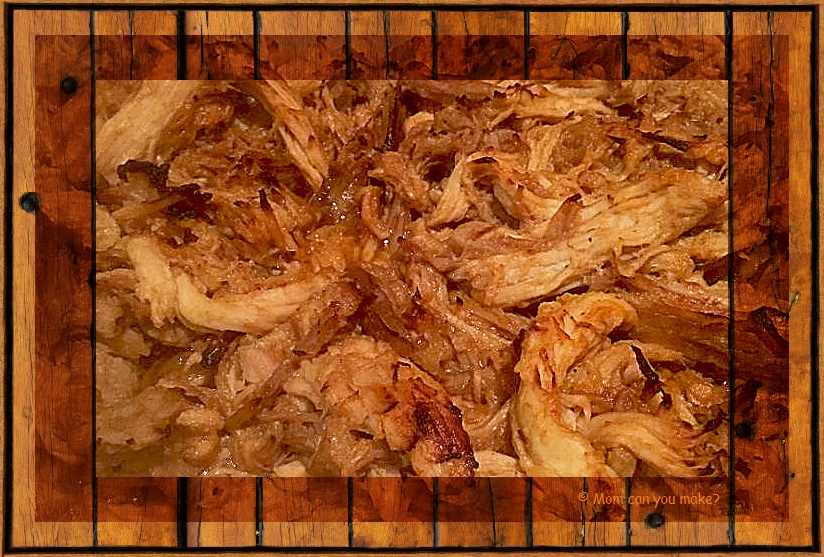
This dish is so easy and so delicious. I put this in my slow cooker and let it go for the afternoon. Although I did make one change to the recipe. That was to add the pulled pork into an ovenproof dish and put it under the broiler for just a few minutes. Doing this tightens up the sauce and gets some nice crispy edges on the pork without drying it out.
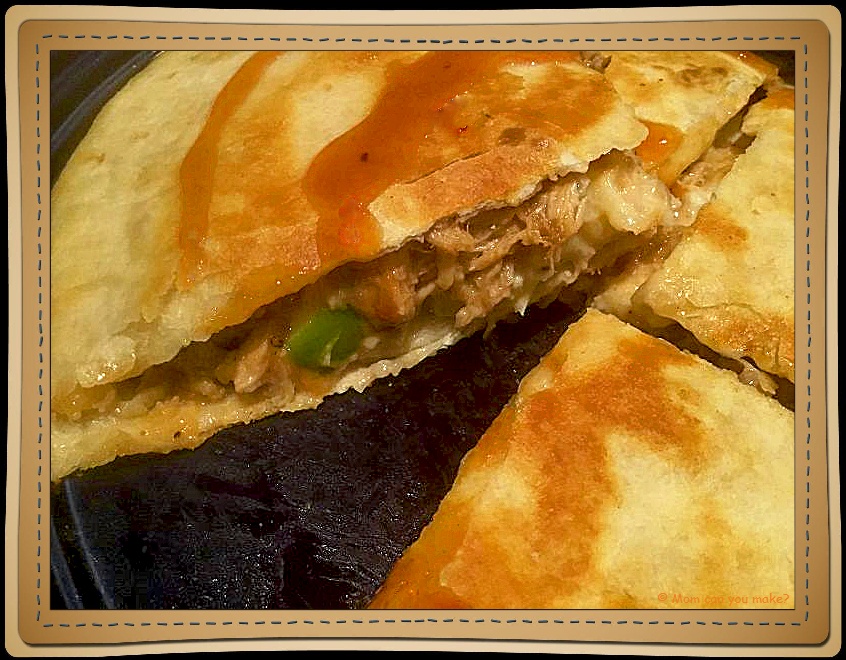
I made this dish two ways. The first as it’s written on hamburger buns. The second way was making the pulled pork into BBQ quesadillas by adding some maple BBQ sauce to the pork, about a cup. Lay a buttered tortilla butter side down over a pan heated over medium heat. Add enough pork to cover the tortilla, top with sharp cheddar cheese and about 1/4 cup of your favorite coleslaw. Top with a second tortilla with it being butter side up. Cook until lightly browned on the bottom, flip and cook until the second side is lightly browned.
INGREDIENTS
- 4-6 pound pork shoulder (this will feed 6-8)
- 1 1/2 Tablespoons salt
- 1 teaspoon chili powder
- 1/2 teaspoon ginger
- 1/4 teaspoon nutmeg
- 1 teaspoon cayenne/ divided
- 1/2 teaspoon cumin
- 1/4 cup maple syrup
- 1/2 cup apple cider vinegar
- hamburger or slider buns for serving
DIRECTIONS
Combine spices, using only a 1/2 teaspoon of the cayenne and rub all over the pork shoulder. Place the pork shoulder in the slow cooker and cook on high for 4-6 hours, cook until it is fork tender and easily falls apart. When it’s done cooking, shred the pork and leave it in the slow cooker. Add the vinegar and maple syrup along the 1/2 teaspoon of cayenne pepper. Mix everything well in the slow cooker coating all of the pork. Continue to cook for an additional 15 minutes.
This is the point I put the pork in an oven safe dish and under the broiler for just a few minutes to tighten the sauce and get some crispy bits on the pork. This step is optional. Serve warm on hamburger or slider buns. If you have leftovers as I did, go ahead and make those delicious quesadillas.
Enjoy!
Stay In Touch


Follow me!
Recent Pins


